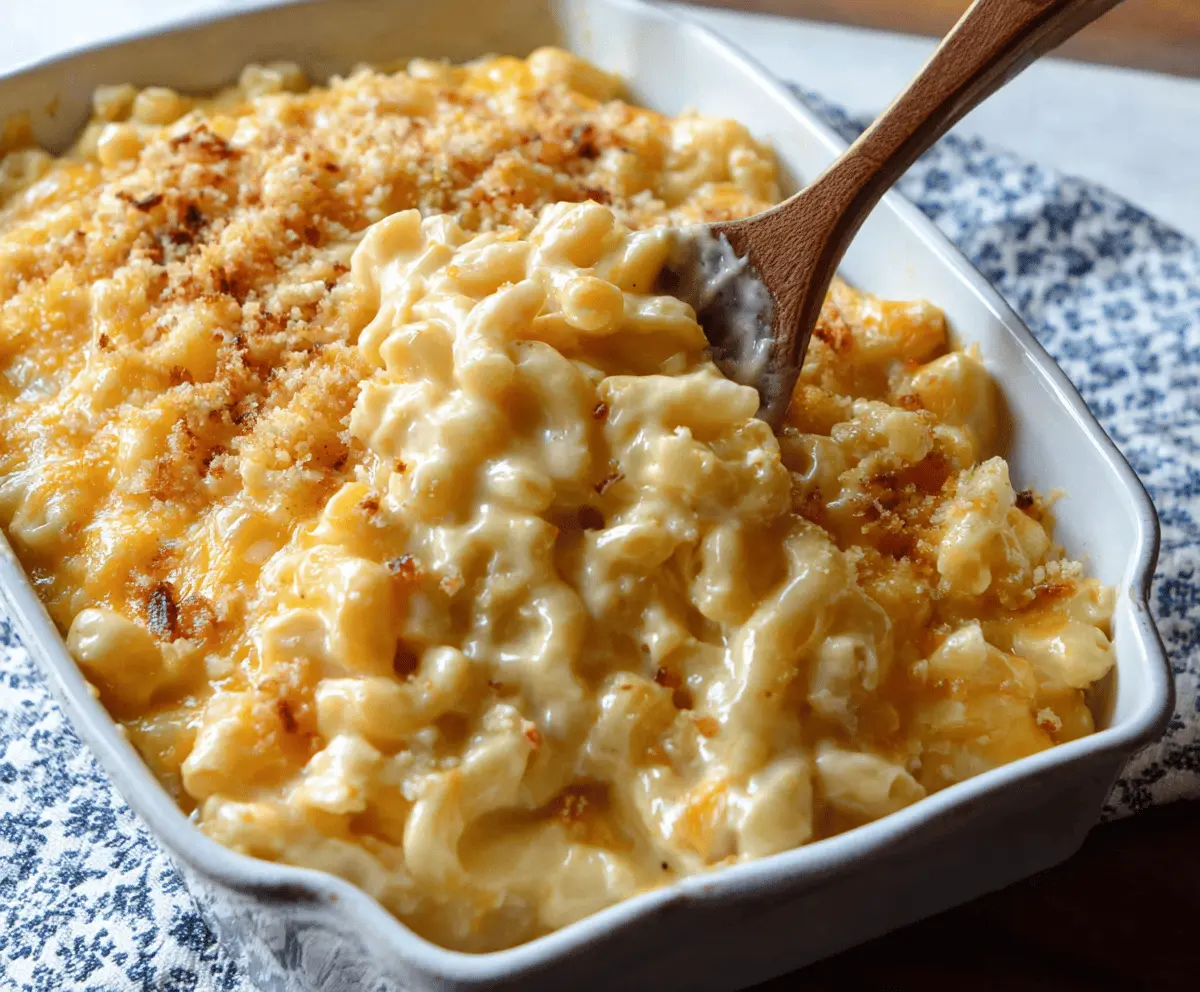
Ultimate Creamy Mac and Cheese is the cheesy, comforting dish that everyone loves. It’s made with tender pasta smothered in a thick, creamy sauce that’s packed with melted cheese. The smooth texture and rich flavor make it feel like a warm hug on a plate.
I always think of mac and cheese as the perfect go-to meal when I need something simple but satisfying. What I love most about this recipe is how creamy it turns out without feeling heavy, and the cheese blend really makes it special. Sometimes I add a little extra cheese on top and bake it until it’s golden and bubbly—that’s my favorite way to enjoy it.
This dish is great on its own or as a side alongside roasted veggies or crispy chicken. It’s the kind of meal that feels perfect for a cozy night in, and leftovers are just as good the next day. I find myself smiling whenever I make it, because it’s a true classic that never fails to bring comfort and a little joy.
Key Ingredients & Substitutions
Elbow macaroni: This small, curved pasta holds sauce well and has the classic mac and cheese feel. You can swap with cavatappi or shells for fun shapes.
Cheese: Sharp cheddar gives flavor and meltiness, while Gruyere adds creaminess and a mild nutty taste. For a twist, try fontina or Monterey Jack.
Milk and cream: Whole milk and heavy cream make the sauce luxuriously creamy. For a lighter version, use all milk or try half-and-half, but the sauce may be less rich.
Butter and flour (roux): These create a thick base for your cheese sauce. Use unsalted butter to control salt levels better.
Panko breadcrumbs: These add a crispy topping. If you don’t have panko, regular breadcrumbs work but may be less crunchy.
How Do You Make a Smooth, Creamy Cheese Sauce Without Lumps?
Getting the cheese sauce silky means taking it slow and steady. Here’s how:
- Start by making a roux: melt butter and whisk in flour. Cook for a couple minutes to remove the raw flour taste, but don’t let it brown too much.
- Add milk and cream gradually while whisking constantly to keep the mixture smooth.
- Keep whisking as the sauce thickens to avoid lumps and burning on the bottom.
- Remove from heat before adding cheese. Add cheese in small batches and stir gently until melted. Overheating can make cheese grainy.
- Season last to taste, so you control saltiness after adding cheese.

Equipment You’ll Need
- Large pot – I like using it to cook the pasta easily and prevent spills.
- Large saucepan – perfect for making the cheese sauce with enough space to whisk smoothly.
- Whisk – helps to mix the roux and cheese sauce until it’s silky smooth.
- 9×13 inch baking dish – gives room for baking and a crispy topping.
- Small bowl – for mixing breadcrumbs and melted butter before topping.
- Measuring cups and spoons – ensure accurate ingredients, especially the cheese and liquids.
Flavor Variations & Add-Ins
- Swap sharp cheddar for smoked Gouda or Pepper Jack to add different flavor profiles.
- Add cooked bacon, ham, or shredded chicken for a protein boost and extra richness.
- Mix in sautéed mushrooms, spinach, or caramelized onions for some veggies and extra texture.
- Stir in a pinch of cayenne or smoked paprika if you want a little heat or smoky flavor.
Ultimate Creamy Mac and Cheese
Ingredients You’ll Need:
Pasta:
- 1 lb elbow macaroni
Creamy Cheese Sauce:
- 4 cups whole milk
- 1 cup heavy cream
- 1/4 cup unsalted butter
- 1/4 cup all-purpose flour
- 4 cups shredded sharp cheddar cheese
- 2 cups shredded Gruyere cheese
- 1 tsp Dijon mustard
- 1/2 tsp garlic powder
- 1/2 tsp onion powder
- Salt and freshly ground black pepper, to taste
Topping:
- 1 cup panko breadcrumbs
- 2 tbsp melted butter (for breadcrumb topping)
How Much Time Will You Need?
This recipe takes about 15 minutes for prep, around 10 minutes for cooking the pasta and sauce, plus 25-30 minutes baking time. In total, you’ll spend about 50 minutes from start to finish. It’s well worth the wait for that creamy, bubbly finish!
Step-by-Step Instructions:
1. Prepare the Oven and Pasta
Preheat your oven to 350°F (175°C). Lightly grease a 9×13 inch baking dish so the mac and cheese doesn’t stick. Bring a large pot of salted water to a boil, then add the elbow macaroni. Cook it until just al dente (follow the package instructions), then drain and set aside.
2. Make the Creamy Cheese Sauce
In a large saucepan, melt 1/4 cup of butter over medium heat. Once melted, add the flour and whisk constantly for about 2 minutes until it forms a smooth, lightly golden paste called a roux. Slowly pour in the milk and heavy cream, whisking continuously to avoid lumps. Keep whisking until the sauce thickens and begins to bubble, about 5-7 minutes. Take the sauce off the heat and stir in the Dijon mustard, garlic powder, onion powder, salt, and pepper. Add the shredded sharp cheddar and Gruyere cheese a little at a time, stirring gently until melted and smooth.
3. Combine, Top, and Bake
Pour the cooked macaroni into the cheese sauce and stir gently to coat every bit with cheesy goodness. Transfer everything into your prepared baking dish. In a small bowl, mix the panko breadcrumbs with melted butter, then sprinkle this mixture evenly over the top. Bake in the preheated oven for 25-30 minutes, until the top is golden brown and bubbly. Let it cool a few minutes before serving. Enjoy your ultimate creamy mac and cheese!
Can I Use Different Types of Cheese?
Absolutely! While sharp cheddar and Gruyere create a great balance, you can swap in mozzarella, fontina, or Monterey Jack for different flavors and textures. Just be sure to use cheeses that melt well for a creamy sauce.
Can I Make This Mac and Cheese Ahead of Time?
Yes! Prepare the mac and cheese up to the baking step, cover tightly, and refrigerate for up to 24 hours. When ready, bake it straight from the fridge, adding a few extra minutes to the baking time until bubbly and golden.
How Should I Store Leftovers?
Keep any leftovers in an airtight container in the fridge for 3-4 days. Reheat gently in the microwave or oven, adding a splash of milk if the sauce has thickened too much to help loosen it up.
Can I Freeze the Mac and Cheese?
You can freeze it, but the texture might change slightly. Freeze before baking by covering tightly, and thaw overnight in the fridge before baking as directed. It’s best to consume within 1-2 months for optimal taste and texture.