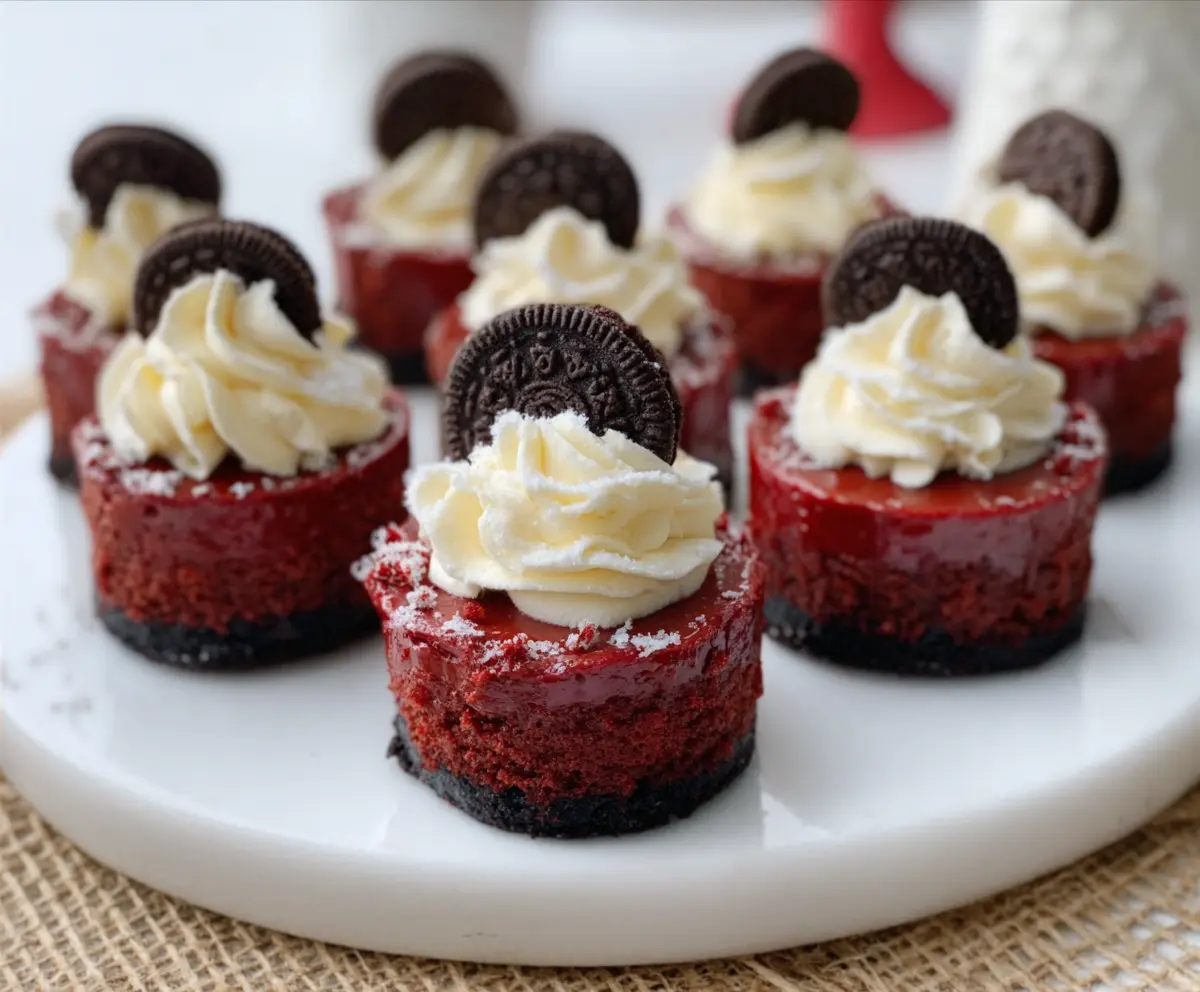
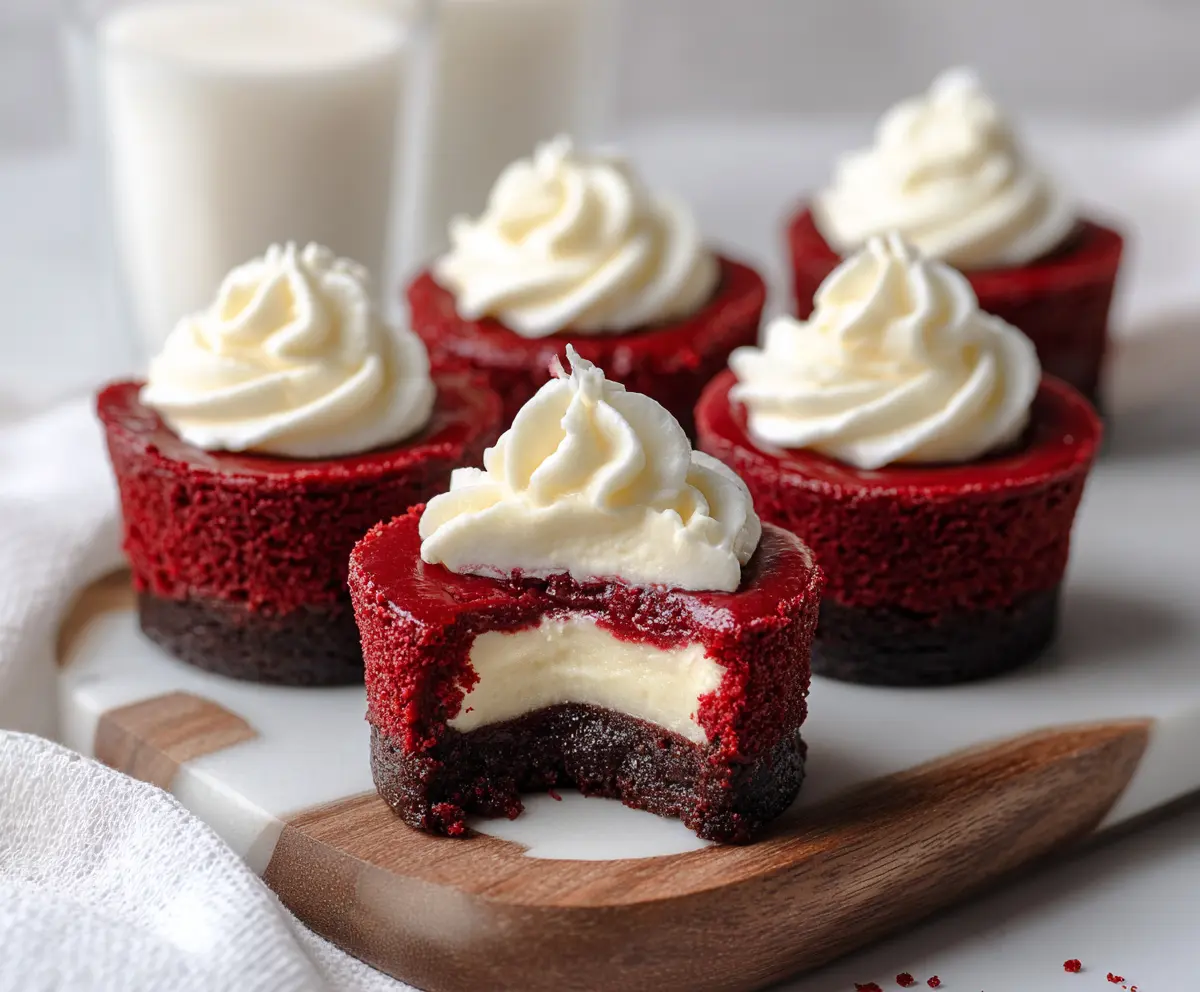
Mini Red Velvet Cheesecakes are little bites of happiness with their smooth, creamy cheesecake filling and that classic red velvet flavor swirling together perfectly. These mini treats have a subtle cocoa taste and a hint of tanginess from cream cheese, all wrapped in a delicate crust that makes each bite feel special.
I love making these because they’re just the right size for sharing or enjoying as a quick dessert fix without feeling too heavy. Plus, they look so cute on a dessert plate, making them a hit at any party or gathering. One of my favorite tips is to make them a day ahead—then the flavors have time to settle, and they’re even better the next day.
Serving these mini cheesecakes chilled is the way to go. Sometimes I add a dollop of whipped cream or a few fresh berries on top to brighten the flavors. They always bring smiles and a little bit of celebration to any table, no matter the occasion.
Key Ingredients & Substitutions
Oreo cookies for crust: These create a sweet, crunchy base that’s easy to press into mini pans. If you prefer, graham crackers or chocolate wafers work great too.
Cream cheese: The star of the cheesecake—softened for smooth texture. Be sure it’s room temp for easy mixing. For dairy-free, use vegan cream cheese alternatives.
Red food coloring: Gives that iconic red velvet color. You can swap for natural beet juice powder if you want to avoid artificial dyes, but the color might be less vibrant.
Cocoa powder and vinegar: Small amounts bring out the classic red velvet flavor and tender crumb. Don’t skip these—they balance the sweetness nicely.
Heavy whipping cream: For the whipped topping. You can use store-bought whipped cream for convenience, but homemade feels fresher and tastes richer.
How Do You Avoid Cracks in Mini Cheesecakes?
Cracks happen when cheesecakes bake too quickly or cool too fast. Here’s how to keep them smooth:
- Bake at a moderate temperature (325°F) to cook the filling slowly and evenly.
- Don’t overmix the batter—blend just until smooth to avoid incorporating too much air.
- After baking, turn off the oven and leave the cheesecakes inside for 15 minutes before taking them out. This gradual cooling helps prevent cracks.
- Cool to room temp before refrigerating. Sudden temperature changes can cause cracking.
Equipment You’ll Need
- Mini muffin tin – Perfect for shaping all those adorable mini cheesecakes and easy to store.
- Food processor or ziplock bag + rolling pin – To crush Oreos into fine crumbs effortlessly.
- Mixing bowls – For mixing the crust and filling without mess.
- Electric hand or stand mixer – Ensures the cream cheese and whipped cream are smooth and fluffy.
- Spatula – For folding ingredients gently and spreading the batter evenly.
- Piping bag with star tip – Makes topping look professional with whipped cream swirls.
- Baking sheet or tray – To hold the mini muffin tin and catch any drips during baking.
Flavor Variations & Add-Ins
- Chocolate Version: Add extra cocoa powder or chocolate chips to the filling for a richer flavor.
- White Velvet: Use white food coloring and a splash of vanilla for a lighter, vanilla-flavored cheesecake.
- Fruit Topping: Top each cheesecake with fresh berries or fruit preserves for a fresh burst of flavor.
- Nut Crust: Mix chopped nuts or graham cracker crumbs with butter instead of Oreos for a different crunch.
Mini Red Velvet Cheesecake
Ingredients You’ll Need:
For the Crust:
- 20 Oreo cookies (cream removed)
- 4 tablespoons unsalted butter, melted
For the Red Velvet Cheesecake Filling:
- 16 oz (450g) cream cheese, softened
- 1 cup granulated sugar
- 2 large eggs
- 1/2 cup sour cream
- 1 teaspoon vanilla extract
- 2 tablespoons unsweetened cocoa powder
- 2 tablespoons red food coloring
- 1/2 teaspoon white vinegar
- 1/2 teaspoon baking soda
For the Topping:
- 1 cup heavy whipping cream
- 2 tablespoons powdered sugar
- 1 teaspoon vanilla extract
- Mini Oreo cookies (for garnish)
- Optional: a light dusting of powdered sugar
How Much Time Will You Need?
This recipe takes about 20 minutes to prepare, 20 minutes to bake, and at least 4 hours for chilling so the cheesecakes can set properly. For best results, chill overnight before serving.
Step-by-Step Instructions:
1. Prepare the Crust:
Start by preheating your oven to 325°F (163°C). Remove the cream from the Oreo cookies and crush the cookies finely using a food processor or by placing them in a ziplock bag and crushing with a rolling pin. Mix the crushed Oreos with melted butter until well combined. Lightly grease your mini muffin tin or line it with paper liners. Press about 1 tablespoon of the Oreo mixture firmly into the bottom of each cup to form the crust. Bake the crusts for 5 minutes, then set aside.
2. Make the Red Velvet Cheesecake Batter:
In a large bowl, beat the softened cream cheese until smooth and creamy. Gradually add the sugar and beat until fluffy. Add the eggs one at a time, mixing well after each. Then mix in the sour cream and vanilla extract. Sift in the cocoa powder and fold it into the batter. Add red food coloring, vinegar, and baking soda, mixing until the color is even throughout.
3. Assemble and Bake:
Divide the cheesecake batter evenly over the Oreo crusts in the mini muffin cups, filling almost to the top. Gently tap the tin on the counter a few times to release any air bubbles. Bake in the preheated oven for 18-20 minutes, or until the centers are just set with a slight jiggle. Let the cheesecakes cool to room temperature, then refrigerate for at least 4 hours or preferably overnight to set completely.
4. Prepare the Whipped Cream Topping:
Whip the heavy cream with powdered sugar and vanilla extract in a chilled bowl until stiff peaks form. Transfer the whipped cream to a piping bag fitted with a star tip for easy decorating.
5. Garnish and Serve:
Once chilled and set, pipe a swirl of whipped cream on top of each mini cheesecake. Garnish each with a mini Oreo cookie half. Optionally, dust lightly with powdered sugar for a pretty finish. Serve chilled and enjoy your delicious mini red velvet cheesecakes!
Can I Use Frozen Cream Cheese for This Recipe?
It’s best to use cream cheese at room temperature for a smooth batter. If your cream cheese is frozen, thaw it overnight in the fridge and then let it sit at room temperature for about 30 minutes before using.
How Should I Store Leftover Mini Cheesecakes?
Store any leftovers in an airtight container in the refrigerator for up to 4 days. To keep the whipped cream fresh, add it just before serving or refrigerate separately.
Can I Make These Mini Cheesecakes Ahead of Time?
Absolutely! Prepare and bake the mini cheesecakes a day in advance, refrigerate overnight, and add the whipped cream topping just before serving for the best texture and flavor.
What Can I Use Instead of Oreos for the Crust?
You can swap Oreos for graham crackers, chocolate wafer cookies, or crushed nuts combined with melted butter for a different crust flavor and texture!