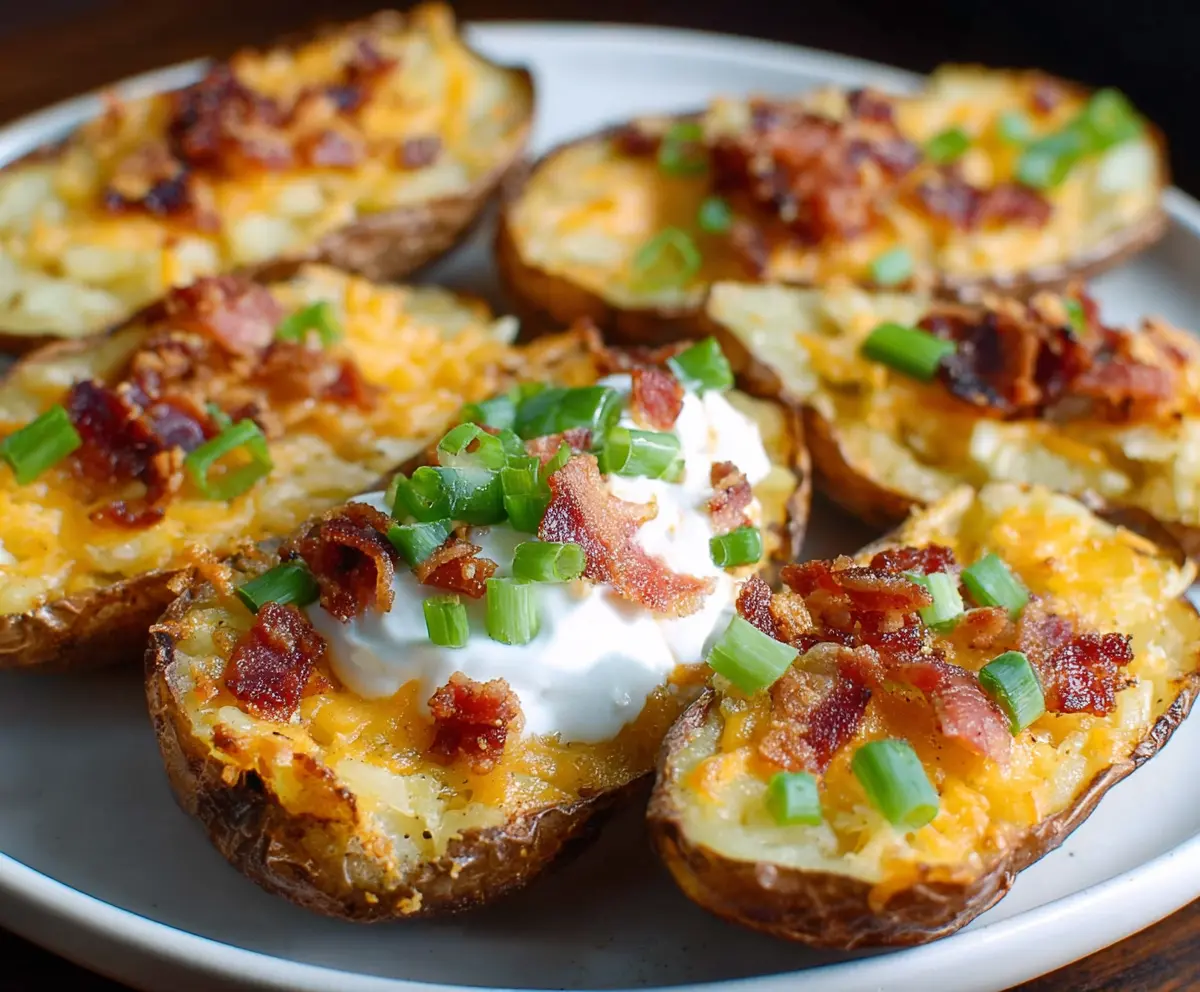
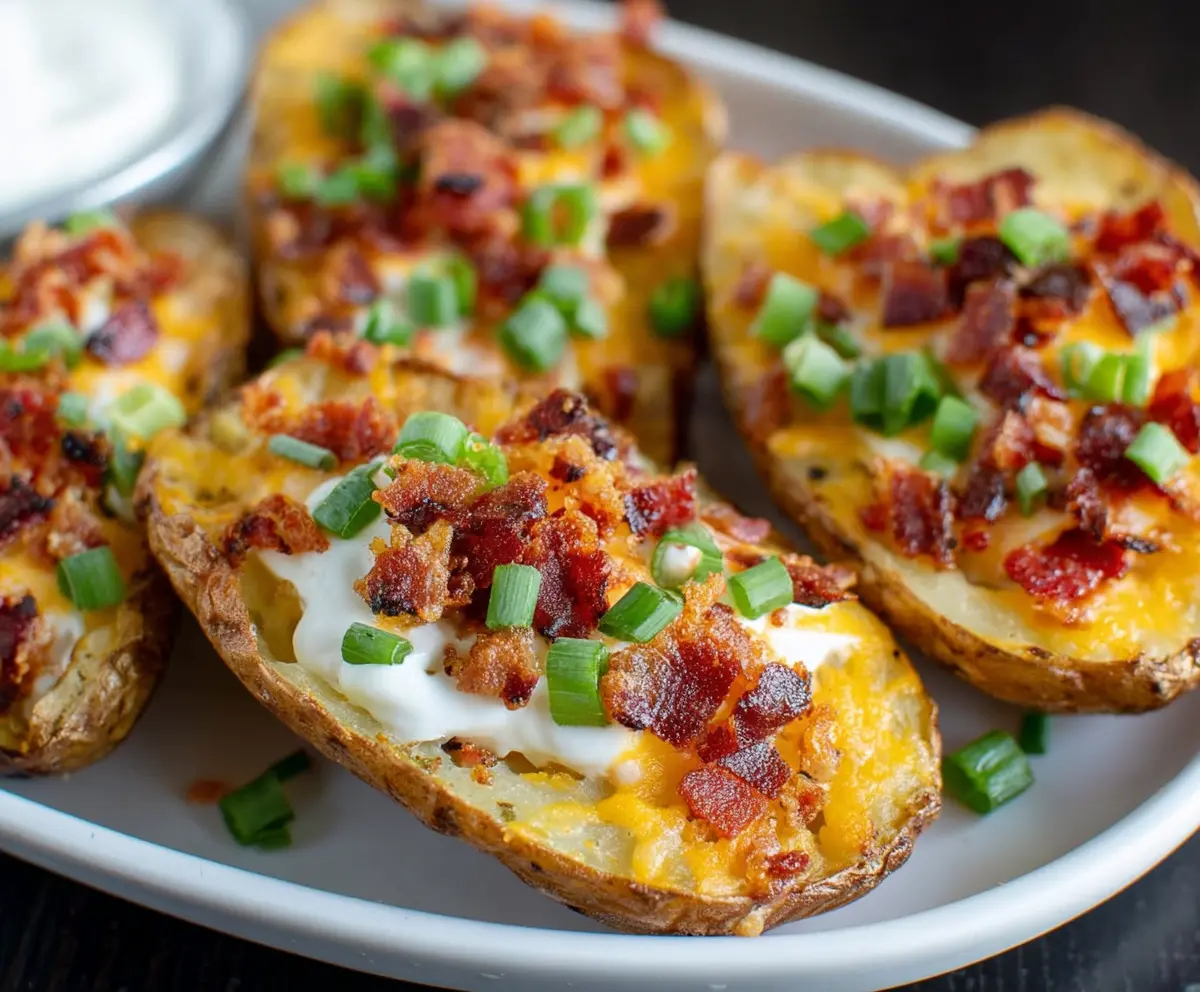
Loaded Potato Skins are a fun and tasty treat that bring together crispy baked potato skins filled with melty cheese, crispy bacon bits, and a sprinkle of green onions. The combination of crunchy edges and gooey cheese makes them a perfect snack or appetizer for any casual gathering or family night.
I love making loaded potato skins because they are so easy to customize. You can add sour cream, chives, or even a little salsa on top to give each bite some extra flavor. It’s one of those recipes where everyone can get creative with their favorite toppings, which always makes it more fun to serve.
When I serve loaded potato skins, I usually like to pair them with a simple salad or some fresh veggies to balance out the richness. They’re great for sharing, and honestly, they disappear quickly whenever I make them. It’s a dish that always brings smiles and is perfect for cozy nights in or game day with friends.
Key Ingredients & Substitutions
Russet potatoes: These potatoes are perfect because their thick skins get crispy while the inside stays fluffy. If you can’t find russets, Idaho potatoes work well too.
Bacon: Bacon adds nice crunch and smoky flavor. For a vegetarian option, try crispy tempeh or smoked paprika-seasoned mushrooms for a similar touch.
Cheddar cheese: I use sharp cheddar for that bold cheesy taste, but mild cheddar or a blend with mozzarella also works great for gooey meltiness.
Sour cream: It balances the richness perfectly. You can swap it with Greek yogurt for a lighter, tangy topping.
Green onions: They add brightness and a slight crunch. If you don’t have green onions, chives or finely chopped mild red onions are good alternatives.
How Do You Get Crispy Potato Skins Without Burning Them?
The key to crispy, yet tender potato skins is baking at the right temperature and removing most of the potato flesh. Follow these tips:
- Bake whole potatoes first at 400°F until soft inside and skins feel firm.
- After scooping out the flesh, brush skins with olive oil and season well to help them crisp.
- Bake the skins at a higher temperature (450°F) skin side down first to crisp up the edges, then flip and add toppings.
- Keep an eye as times may vary—skins should be golden and crunchy, not burnt.
Equipment You’ll Need
- Oven – I recommend one that heats evenly to get the potatoes perfectly baked and the skins crispy.
- Baking sheet – Provides a sturdy surface for baking the potatoes and the skins once scooped out.
- Skillet – Handy for cooking bacon crispy and letting the bacon drain easily.
- Fork or knife – To pierce the potatoes for baking and to help scoop out the flesh.
- Cooking spoon or scoop – To carefully remove most of the potato without breaking the skins.
- Brush – To spread olive oil on the skins for crispiness.
- Grater – To shred cheese efficiently and evenly.
Flavor Variations & Add-Ins
- Swap bacon for cooked shredded chicken or turkey for a leaner option that still adds flavor.
- Mix in chopped jalapeños or peppers for some added heat and spice.
- Use a blend of cheeses like Monterey Jack or pepper Jack to introduce different flavors and meltiness.
- Garnish with fresh herbs such as cilantro or parsley for a bright, fresh touch.
How to Make Loaded Potato Skins
Ingredients You’ll Need:
Main Ingredients:
- 4 large russet potatoes
- 4 slices bacon
- 1 cup shredded cheddar cheese
- 1/2 cup sour cream
- 3 green onions, chopped
- 2 tbsp olive oil
- Salt, to taste
- Black pepper, to taste
How Much Time Will You Need?
This recipe takes about 15 minutes to prep, and the baking time is around 55 to 70 minutes total. You’ll bake the potatoes first, then crisp up the skins and melt the cheese – all added time for delicious, crispy loaded potato skins!
Step-by-Step Instructions:
1. Bake the Potatoes:
Preheat your oven to 400°F (200°C). Wash and scrub the potatoes well. Pierce them a few times with a fork, then rub each potato with olive oil and sprinkle with salt. Place them directly on the oven rack and bake for 45-60 minutes until the skins are crispy and the potatoes feel tender when poked with a fork.
2. Cook the Bacon:
While the potatoes bake, cook the bacon slices in a skillet over medium heat until they are crispy. Drain the bacon on paper towels, then crumble it into small pieces once cooled.
3. Prepare the Potato Skins:
When the potatoes are cool enough to hold, carefully slice each one in half lengthwise. Scoop out most of the potato flesh, leaving about ¼ inch thickness of potato so the skins keep their shape.
4. Crisp the Skins:
Increase the oven heat to 450°F (230°C). Brush the potato skins with olive oil, season them with salt and pepper, and place them skin-side down on a baking sheet. Bake for 10 minutes until the skins get nicely crisp.
5. Add Cheese and Bacon:
Turn the skins over and fill each one with shredded cheddar cheese and crumbled bacon. Put them back in the oven and bake for another 5-7 minutes until the cheese melts and bubbles.
6. Add the Final Touches:
Remove the potato skins from the oven. Top each with a dollop of sour cream and sprinkle with chopped green onions. Serve warm and enjoy the crispy, cheesy, flavorful loaded potato skins!
Can I Use Sweet Potatoes Instead of Russets?
Yes! Sweet potatoes work well and add a natural sweetness. Just adjust baking time as they may cook a bit faster. The skins might be softer but still delicious.
How Can I Make These Loaded Potato Skins Vegetarian?
Simply skip the bacon and add extra cheese or use sautéed mushrooms or chopped bell peppers for flavor and texture.
Can I Prepare Potato Skins Ahead of Time?
Absolutely! Bake and scoop the potatoes a day ahead, then store the skins separately. When ready, fill with toppings and bake as directed for best crispness.
What’s the Best Way to Store Leftovers?
Keep leftover potato skins in an airtight container in the refrigerator for up to 2 days. Reheat in the oven to keep the skins crispy rather than microwaving.