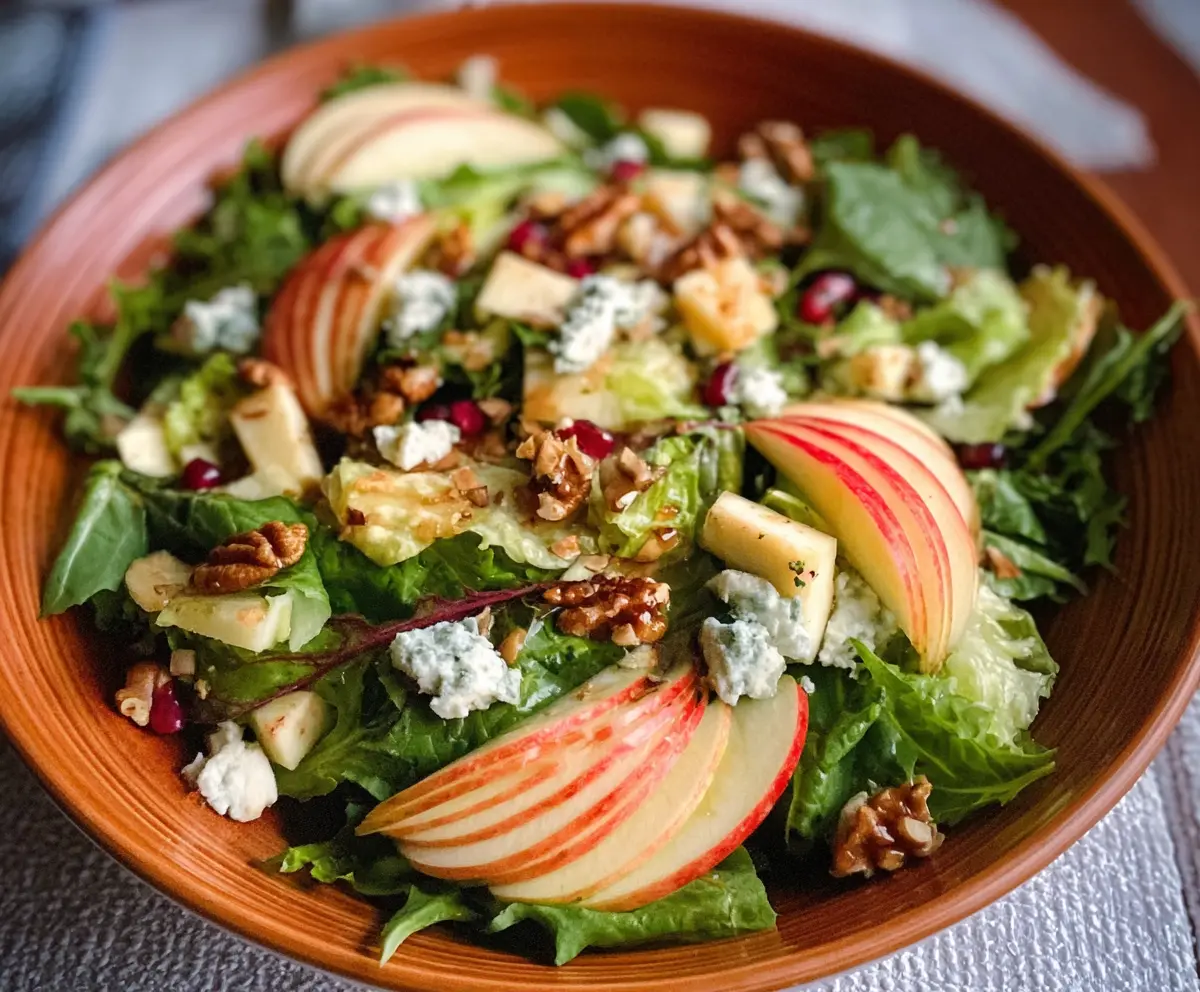
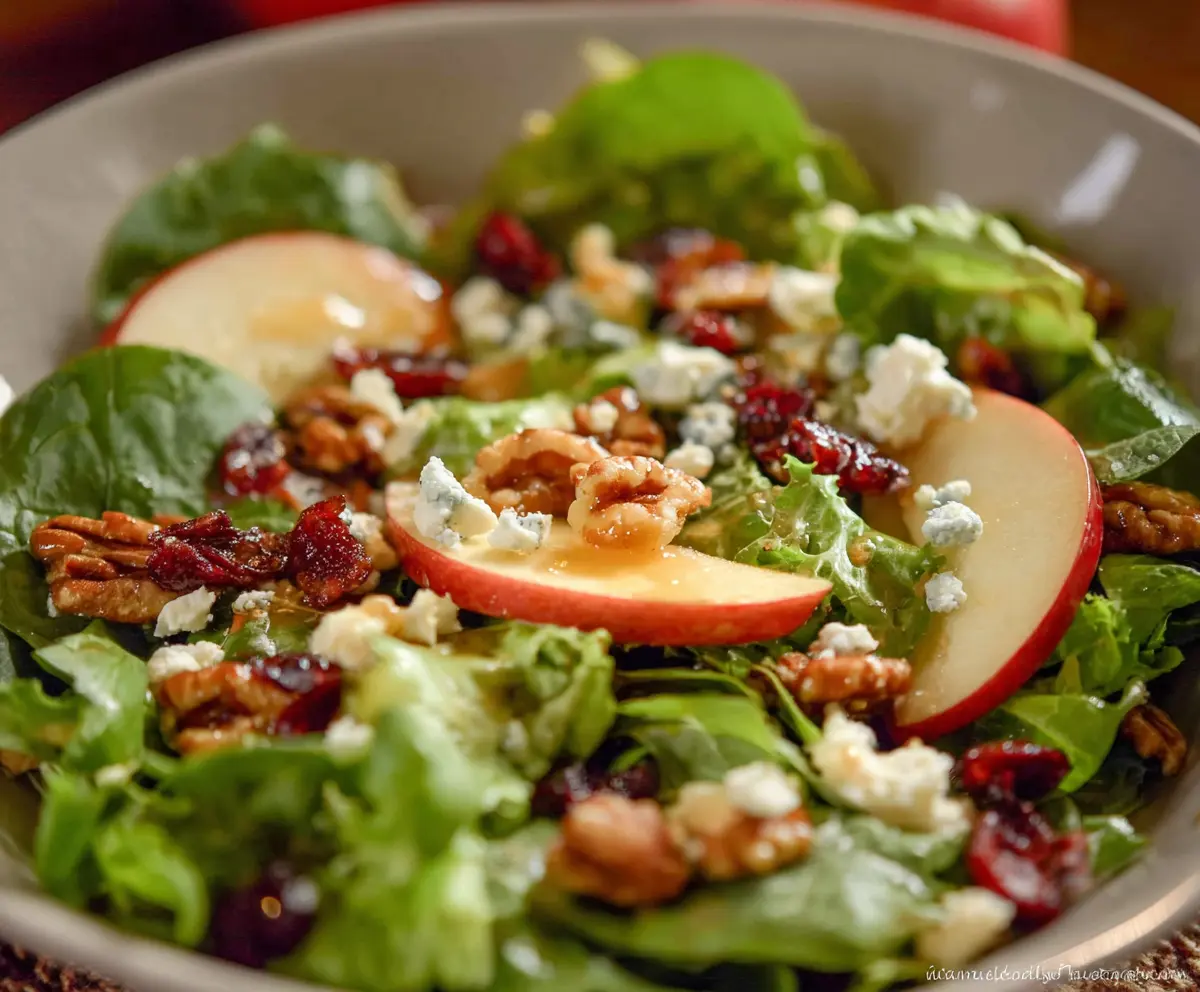
Honeycrisp Salad is a fresh and crisp mix that’s perfect for any day you want something light but full of flavor. It features the sweet crunch of Honeycrisp apples paired with fresh greens, nuts for a little bite, and a tangy dressing that brings it all together. It’s a simple salad that feels special thanks to those juicy apples.
I love making this salad when I want a quick, bright side dish or even a light lunch. The crunch of the apples and a handful of toasted nuts make every bite interesting, and I always make sure to toss the apples in a little lemon juice so they don’t turn brown. That little step keeps everything looking as good as it tastes!
My favorite way to serve Honeycrisp Salad is alongside grilled chicken or as part of a picnic spread. It’s a crowd-pleaser because it’s fresh, a little sweet, and just a touch crunchy. Plus, it’s a great way to get a bit of fall’s best apple flavor even in the middle of summer. Give it a try—you’ll see why I keep coming back to this simple combo.
Key Ingredients & Substitutions
Honeycrisp Apple: The star of this salad! Its crisp texture and sweet-tart flavor add a fresh punch. If you don’t have Honeycrisp, try Fuji or Gala apples—they’re sweet and crisp too.
Blue Cheese: Adds a creamy, tangy note that contrasts with the sweet apples. Not a fan? Goat cheese or feta are great milder alternatives.
Walnuts: Toasted walnuts bring crunch and a nutty aroma. Pecans or almonds work nicely if you want a change or need a nut swap.
Lemon Juice: Tossing the apple slices in lemon juice stops them from browning, which keeps your salad looking fresh. You can use lime juice instead for a bit of a twist.
Dressing: A simple mix of olive oil, apple cider vinegar, and honey balances the salad perfectly. White balsamic vinegar is a good swap for a sweeter, less sharp dressing.
How Can You Keep the Apples From Turning Brown and Stay Crunchy?
Apples can brown quickly once cut, which doesn’t look great. Here’s a simple way to keep them fresh and crisp:
- Immediately after slicing, toss the apple pieces in a bowl with 2 tablespoons of lemon juice.
- Make sure all the apple slices get lightly coated—this slows oxidation, which causes browning.
- Use the apples right away for best crunch, or keep them in an airtight container if prepping ahead.
This quick step keeps your Honeycrisp Salad looking bright and tasting fresh every time!
Equipment You’ll Need
- Large mixing bowl – I prefer a big bowl to toss everything gently without spilling.
- Small whisk or fork – for mixing the dressing quickly and smoothly.
- Sharp knife – to thinly slice apples and chop nuts with ease.
- Cutting board – keeps your workspace neat and makes slicing safer.
- Toaster or oven – to toast walnuts until golden and fragrant, adding extra flavor.
Flavor Variations & Add-Ins
- Try crumbled feta or goat cheese instead of blue cheese for a milder, creamy taste.
- Add candied pecans or sliced almonds for extra crunch and sweetness.
- Mix in dried cranberries or raisins for tartness and chewy texture.
- Use balsamic vinegar instead of apple cider vinegar for a richer dressing flavor.
Honeycrisp Salad
Ingredients You’ll Need:
Salad:
- 4 cups mixed salad greens (such as romaine, baby kale, and leaf lettuce)
- 1 large Honeycrisp apple, thinly sliced
- 1/2 cup crumbled blue cheese (or goat cheese as alternative)
- 1/3 cup walnuts, toasted and roughly chopped
- 1/4 cup pomegranate seeds (optional, for garnish)
- 1/2 cup diced apple (from the same or a complementary apple variety)
- 2 tablespoons lemon juice (to prevent apple browning)
Dressing:
- 3 tablespoons extra virgin olive oil
- 1 tablespoon apple cider vinegar or white balsamic vinegar
- 1 teaspoon honey or maple syrup
- Salt and freshly ground black pepper, to taste
How Much Time Will You Need?
This salad comes together quickly — about 10 to 15 minutes for prepping and assembling. Toasting the walnuts might add 5 minutes if you do it fresh, but otherwise this is a perfect fast and fresh recipe!
Step-by-Step Instructions:
1. Prepare the Base:
Put your mixed salad greens in a large bowl. Keep them fresh and crisp by handling gently.
2. Prepare the Apples:
Toss the thinly sliced Honeycrisp apple pieces in the lemon juice right away so they don’t brown. Add these to the salad greens. Next, add the diced apple pieces for extra texture and sweetness.
3. Add Cheese and Nuts:
Sprinkle the toasted walnuts and crumbled blue cheese evenly over the salad. These add crunch and creamy tang.
4. Garnish with Pomegranate Seeds (Optional):
For a lovely burst of color and a hint of tartness, scatter pomegranate seeds on top if you like.
5. Make the Dressing:
Whisk together olive oil, vinegar, honey, salt, and pepper in a small bowl until smooth and well combined.
6. Dress and Toss the Salad:
Drizzle the dressing over the salad just before serving, then toss gently to evenly coat all ingredients without bruising the greens or apples.
7. Serve Right Away:
This salad is best enjoyed fresh – the crisp apples and greens with creamy cheese and crunchy nuts make every bite light and delicious!
Can I Use a Different Type of Apple?
Absolutely! While Honeycrisp apples give great sweetness and crunch, you can substitute with Fuji, Gala, or Pink Lady apples for a similar flavor and texture.
How Can I Make This Salad Ahead of Time?
You can prep the salad ingredients separately and store them in airtight containers. Keep the apples tossed in lemon juice to prevent browning, and add the dressing just before serving for the freshest taste.
What Can I Use Instead of Blue Cheese?
If you prefer a milder cheese, goat cheese or feta are great alternatives that still add creaminess without a strong bite.
How Should I Store Leftover Salad?
Store leftovers in an airtight container in the fridge for up to 1 day, but note the apples and greens may lose some crispness over time. It’s best eaten fresh!