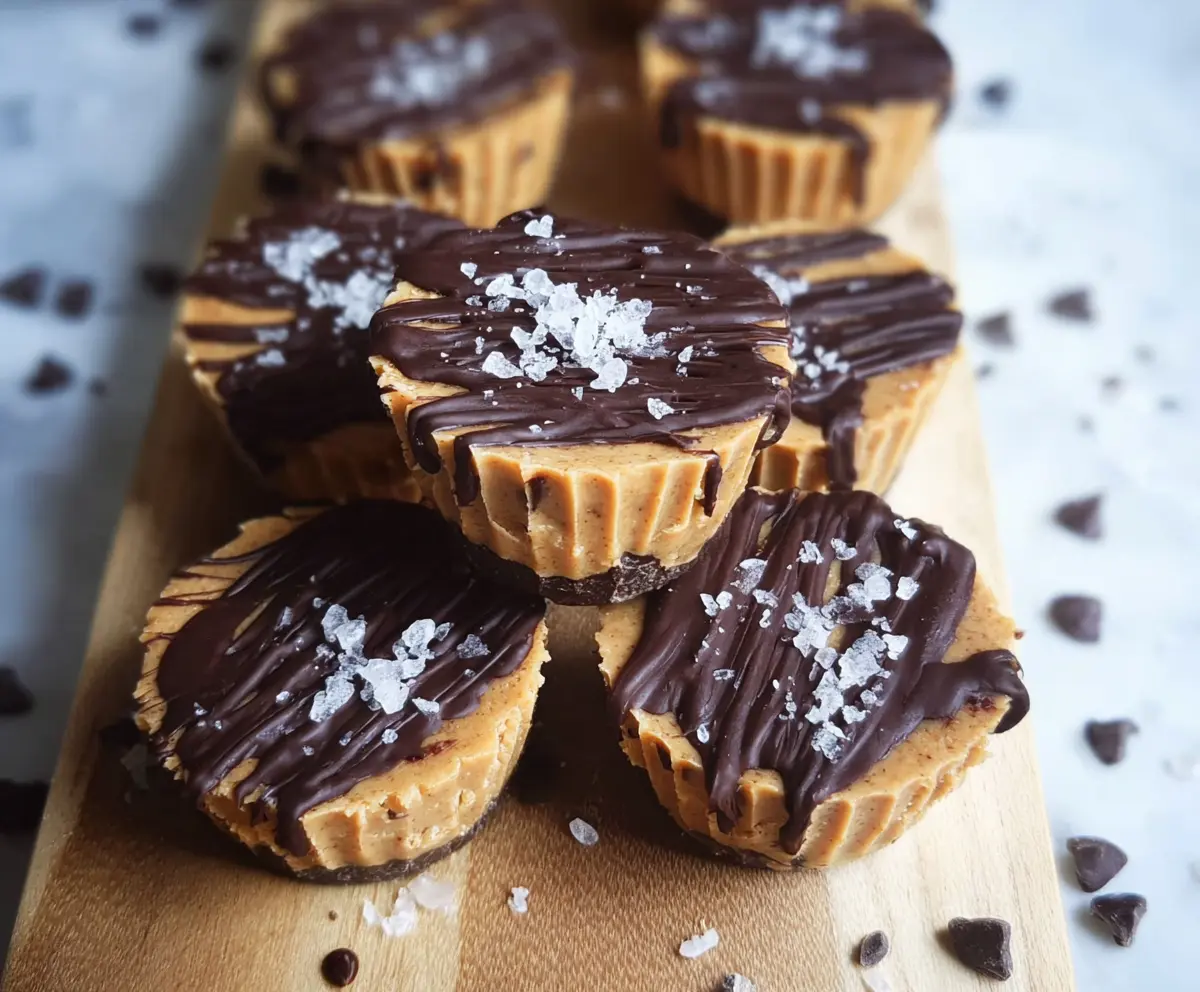
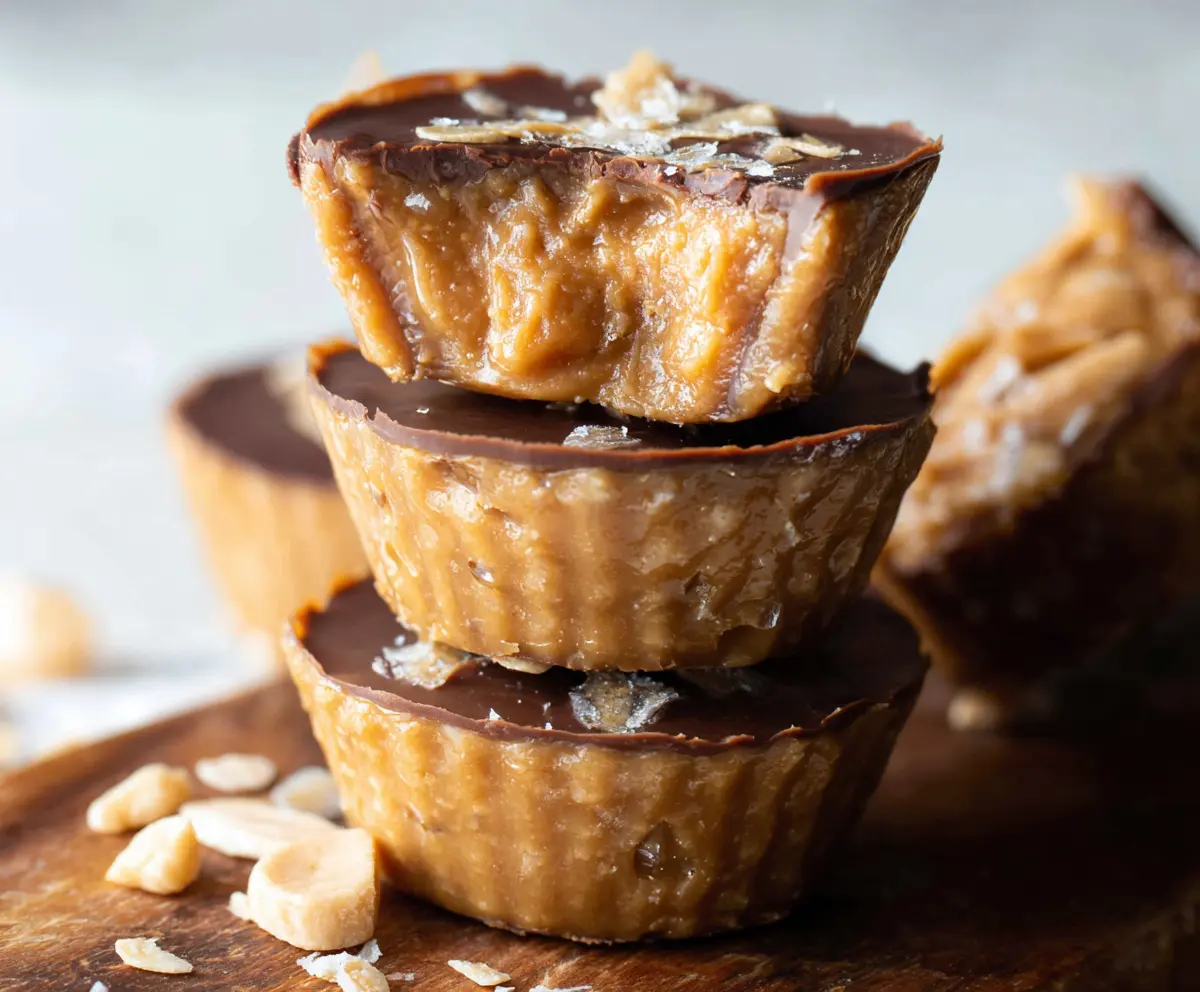
Healthy 3-Ingredient Peanut Butter Cups are a simple treat that hits the spot when you want something sweet but don’t want to feel guilty. These little cups bring together creamy peanut butter, a touch of natural sweetener, and smooth chocolate, making them rich and satisfying without a long list of ingredients.
I love making these on a lazy afternoon when I need a quick bite that feels like a treat but is actually good for me. The best part is how easy they are to whip up—just three ingredients and a few minutes in the freezer, and you’re ready to enjoy a delicious snack. I always keep a batch in the fridge because they disappear fast in my house!
They’re perfect for sharing with friends or packing in your lunchbox to brighten up the day. I like to pair them with a cup of coffee or tea for a little afternoon pick-me-up. If you want to switch things up, you can sprinkle a pinch of sea salt on top before freezing—it adds a nice contrast and takes the peanut butter cups up a notch. Simple, tasty, and healthy—what’s not to love?
Key Ingredients & Substitutions
Natural Peanut Butter: This is the heart of the peanut butter cups. I like using unsweetened natural peanut butter because it keeps things simple and healthy. If you have a peanut allergy, try almond or sunflower seed butter instead—they work well too!
Maple Syrup or Honey: These natural sweeteners add just the right touch of sweetness without refined sugar. Maple syrup is vegan-friendly, while honey is not. You can swap either with agave nectar or a mild-flavored date syrup.
Dark Chocolate Chips: Choose dark chocolate with at least 70% cocoa for less sugar and richer flavor. If you prefer, you can use dairy-free or vegan chocolate chips. Avoid milk chocolate to keep it healthier and less sweet.
How Can You Make Smooth, Even Layers in Peanut Butter Cups?
The key to neat peanut butter cups is layering the chocolate and peanut butter carefully:
- Start by melting only half the chocolate and spoon a thin layer into the muffin cups. Freeze this base quickly so it firms up nicely.
- Mix your peanut butter and sweetener until smooth before adding it over the set chocolate base in gentle dollops.
- Finally, melt the rest of the chocolate and spread or drizzle it evenly over the peanut butter layer. Quick freezing again locks everything in place.
- If you want cleaner edges, use silicone muffin cups as they flex to release the cups easily without cracking.
Patience when freezing after each step helps keep the layers distinct and makes your peanut butter cups look professional and taste great!
Equipment You’ll Need
- Mini muffin tin – I find it easier to shape the cups and it helps keep everything neat.
- Silicone muffin cups (optional) – These make removing the cups simple and prevent sticking.
- Microwave-safe bowl – Perfect for melting the chocolate quickly and evenly.
- Spatula or spoon – Great for spreading and layering the chocolate and peanut butter.
- Measuring cups and spoons – For precise measurements and consistent results.
Flavor Variations & Add-Ins
- Try adding a sprinkle of chopped nuts or shredded coconut on top before freezing for extra crunch and flavor.
- Use flavored or spiced peanut butter, like cinnamon or honey-infused, to give your cups a special twist.
- Add a few drops of vanilla extract or a pinch of cinnamon into the peanut butter mixture for subtle flavor changes.
- Mix in a few mini marshmallows or a swirl of fruit preserves between the layers for a fun, fruity twist.
How to Make Healthy 3-Ingredient Peanut Butter Cups
Ingredients You’ll Need:
For The Peanut Butter Cups:
- 1 cup natural peanut butter (creamy or crunchy, unsweetened)
- ¼ cup pure maple syrup or honey
- 1 cup dark chocolate chips (70% cocoa or higher)
- Optional garnish: sea salt flakes
How Much Time Will You Need?
This recipe takes about 10 minutes to prepare, plus around 40 minutes for freezing. It’s a quick and easy snack that you can whip up any time you want a healthy, sweet treat without waiting long.
Step-by-Step Instructions:
1. Prepare the Muffin Tin:
Start by lining a mini muffin tin with paper liners or silicone cups to keep your peanut butter cups from sticking and make them easier to remove later.
2. Make the Chocolate Base:
Melt half of your dark chocolate chips (about ½ cup) in a microwave-safe bowl, heating in 30-second bursts and stirring in between until smooth. Spoon a little melted chocolate into the bottom of each muffin cup—just enough to cover the base. Place the muffin tin in the freezer for about 10 minutes to let this chocolate solidify.
3. Mix the Peanut Butter Filling:
While the chocolate sets, combine the peanut butter and maple syrup (or honey) in a bowl. Stir well until smooth and creamy—this sweet and nutty filling will be the center layer of your cups.
4. Add the Peanut Butter Layer:
Once the chocolate base is firm, spoon about a tablespoon of your peanut butter mixture over each chocolate layer. Spread it gently and evenly to cover the chocolate.
5. Cover with More Chocolate:
Melt the remaining chocolate chips until smooth. Drizzle or spread this chocolate over the peanut butter layer in each cup, making sure it’s fully covered.
6. Add Optional Salt and Freeze:
If you like, sprinkle a pinch of sea salt flakes on top to add a little savory contrast. Return the muffin tin to the freezer for 20 to 30 minutes until your peanut butter cups are completely firm.
7. Store and Enjoy:
After they’re set, carefully remove the peanut butter cups from their liners and store them in an airtight container in the fridge or freezer. Enjoy these creamy, healthy treats chilled anytime you want a little indulgence!
Can I Use Frozen Peanut Butter Cups?
Yes! You can store these peanut butter cups in the freezer for longer freshness. Just thaw them in the fridge for about 10 minutes before enjoying for the best texture.
What Can I Substitute for Peanut Butter?
Almond butter, cashew butter, or sunflower seed butter are great alternatives if you want to switch up the flavor or avoid peanuts. Just use the same amount as peanut butter.
How Should I Store Leftovers?
Keep your peanut butter cups in an airtight container in the fridge for up to 1 week or in the freezer for up to 3 months. This helps maintain their texture and flavor.
Can I Use Different Sweeteners?
Absolutely! If you don’t have maple syrup or honey, you can try agave nectar or brown rice syrup. These will provide similar sweetness with a slightly different flavor.