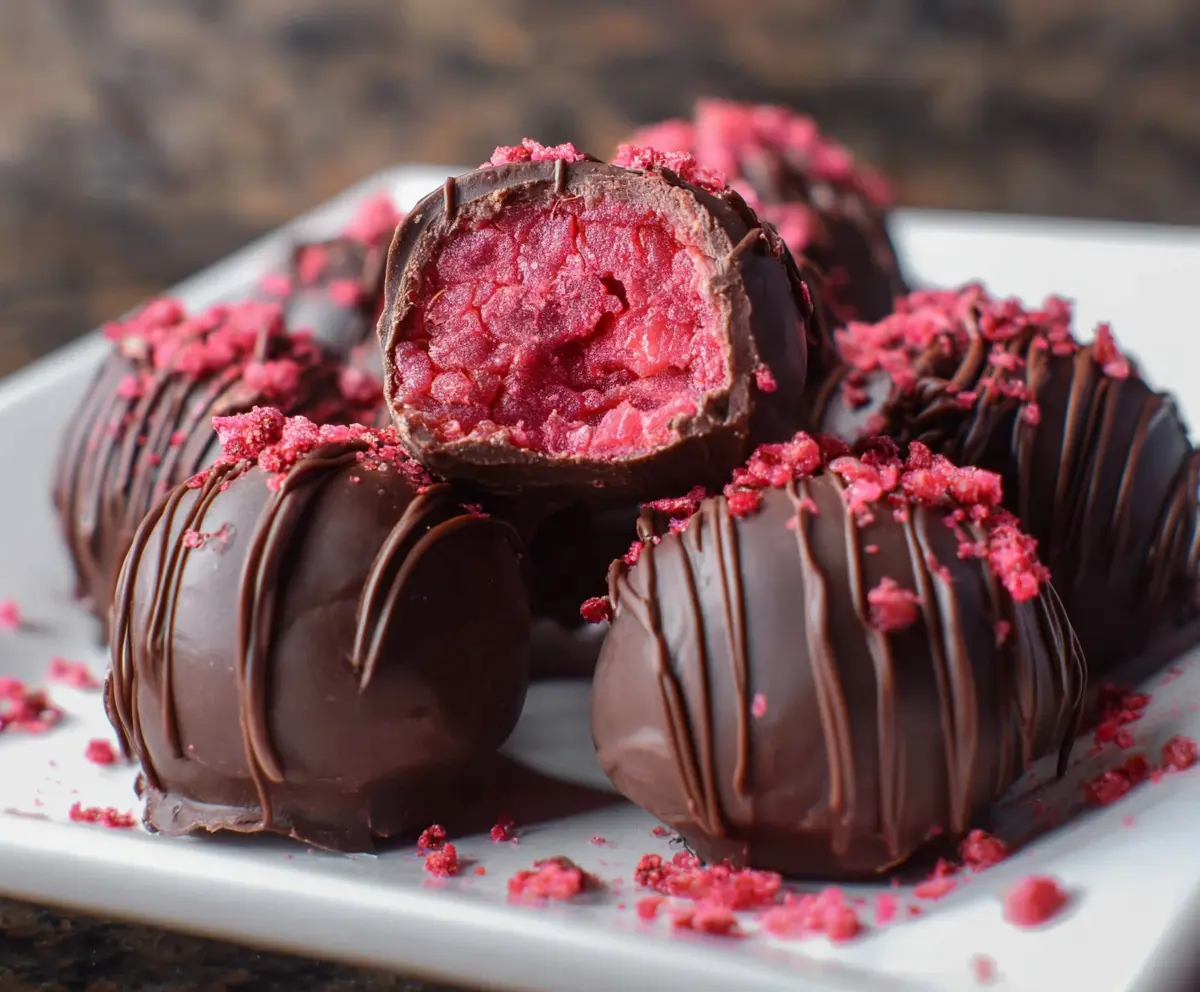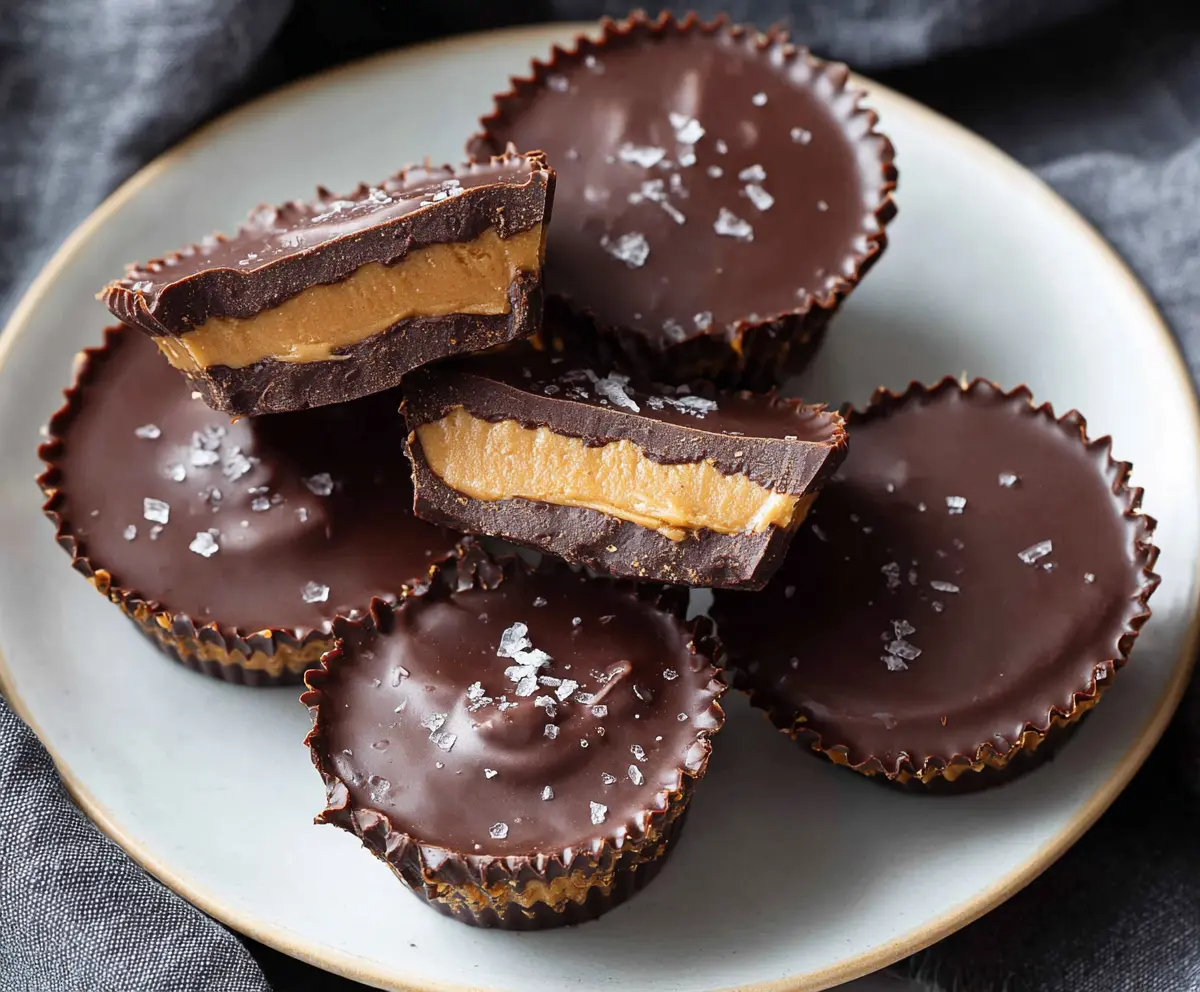
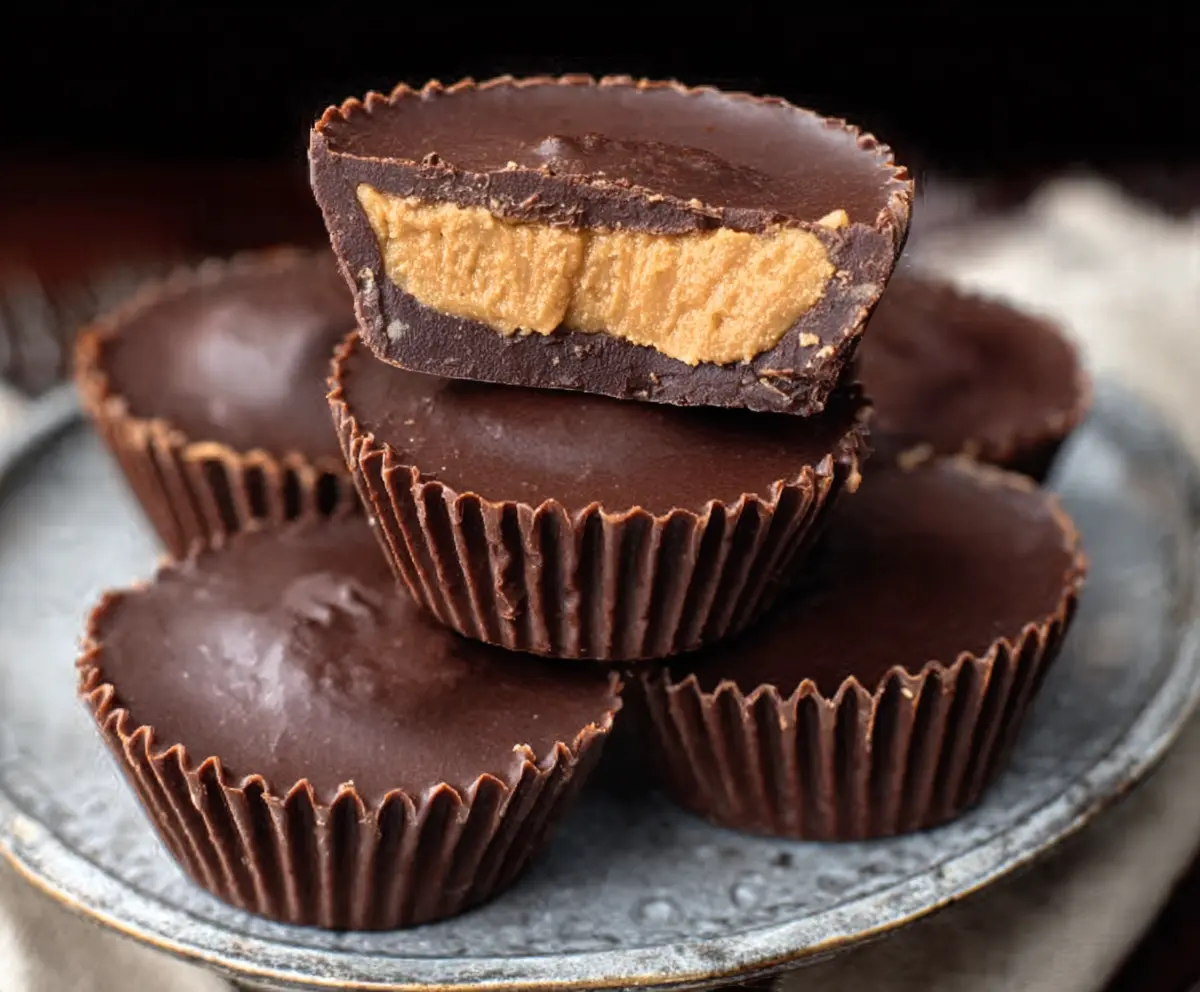
Classic Homemade Reese’s Peanut Butter Cups bring together the perfect combo of smooth chocolate and creamy peanut butter in a simple, satisfying treat. These cups are rich and chocolatey on the outside with a soft, sweet peanut butter filling that everyone loves. They’re exactly like the store-bought ones but made fresh at home with just a few ingredients.
I love making these because they’re surprisingly easy and you can control just how sweet or salty you want the peanut butter center. Sometimes I add a little extra sea salt on top just to give that salty-sweet balance that makes every bite so irresistible. Plus, making them yourself means you can skip any extra additives or preservatives.
My favorite way to enjoy these cups is chilled but not frozen, so the chocolate is perfectly firm and the peanut butter is soft and creamy. They’re great for a quick snack or a homemade gift for friends and family. Every time I bring these out, people can’t believe they’re homemade—they’re that good!
Key Ingredients & Substitutions
Peanut Butter: Use creamy peanut butter for that smooth, classic filling. Natural or lightly sweetened options keep it less sugary. If allergic or avoiding peanuts, almond or sunflower seed butter work well.
Powdered Sugar: This sweetens the filling and thickens it. You can swap with coconut sugar powder for a less processed option, but the texture may change slightly.
Butter: Adds richness and helps the filling hold its shape. If dairy-free, try vegan butter or coconut oil as a substitute.
Chocolate: Semi-sweet or dark chocolate chips create the perfect shell. You can use milk chocolate if you prefer sweeter cups or vegan chocolate if dairy-free.
Coconut Oil (Optional): Makes melted chocolate smoother and shinier. It also helps chocolate set nicely. If you don’t have it, just melt chocolate alone but stir often.
Flaky Sea Salt (Optional): A sprinkle of this on top balances the sweetness with a little savory crunch. I highly recommend trying it!
How Do I Get a Smooth Chocolate Shell That Sets Well?
Melting chocolate can be tricky. To get a smooth, shiny shell that hardens perfectly, follow these tips:
- Melt chocolate slowly in short bursts (20-30 seconds) if using a microwave. Stir after every interval to avoid burning.
- If using a stovetop, melt chocolate gently over simmering water (double boiler). Keep water off the bowl to prevent seizing.
- Add a teaspoon of coconut oil to give the chocolate a glossy finish and help it set firm but not too hard.
- After pouring chocolate in the cups, spread it evenly using the back of a spoon and chill the tray to set quickly.
- Tapping the pan gently on the counter will release air bubbles and smooth the surface.
These steps will give you a beautiful, crisp chocolate shell every time, just like store-bought peanut butter cups!
Equipment You’ll Need
- 12-cup muffin tin – I like using this because it keeps the cups uniform and easy to handle.
- Cupcake liners – make cleanup easy and keep the chocolates neat.
- Microwave-safe bowl or double boiler – for melting the chocolate smoothly.
- Spatula or spoon – to spread the melted chocolate evenly in each cup.
- Measuring spoons – to portion the peanut butter and chocolate accurately.
- Refrigerator or freezer – to chill and set the cups quickly and firmly.
Flavor Variations & Add-Ins
- Use dark chocolate or white chocolate instead of semi-sweet for a different flavor profile.
- Add a teaspoon of vanilla or almond extract to the peanut butter for extra flavor.
- Mix in crushed pretzels, crispy rice, or chopped nuts into the peanut butter filling for crunch.
- Sprinkle a few mini chocolate chips or sprinkles on top before the chocolate fully sets for a decorative touch.
Classic Homemade Reese’s Peanut Butter Cups
Ingredients You’ll Need:
For The Peanut Butter Filling:
- 1 cup creamy peanut butter (natural, unsweetened or lightly sweetened)
- ¼ cup powdered sugar
- 2 tablespoons unsalted butter, softened
- ¼ teaspoon salt (adjust according to peanut butter saltiness)
For The Chocolate Shell:
- 2 cups semi-sweet or dark chocolate chips (or chopped baking chocolate)
- 1 teaspoon coconut oil or vegetable oil (optional, for smoother chocolate)
Optional Topping:
- Flaky sea salt, for sprinkling on top
How Much Time Will You Need?
This recipe takes about 15 minutes to prepare, including melting chocolate and assembling the cups. You’ll need an additional 30 minutes in the fridge (or 15 minutes in the freezer) to let the peanut butter cups fully set. Overall, about 45 minutes from start to finish.
Step-by-Step Instructions:
1. Prepare Your Muffin Tin:
Line a 12-cup muffin tin with cupcake liners. This will make it easier to remove your peanut butter cups once set.
2. Make The Peanut Butter Filling:
In a medium bowl, mix together the peanut butter, powdered sugar, softened butter, and salt until smooth and fully combined. This will be the creamy filling inside your cups.
3. Melt The Chocolate:
Place the chocolate chips and coconut oil (if using) in a microwave-safe bowl. Heat in 20-30 second intervals, stirring well after each, until the chocolate is completely melted and smooth. Alternatively, melt the chocolate gently using a double boiler on the stove.
4. Form The Chocolate Base:
Spoon about 1 tablespoon of melted chocolate into the bottom of each cupcake liner. Use the back of a spoon to spread it evenly, covering the base. Put the muffin tin in the freezer for 10-15 minutes so the chocolate hardens.
5. Add The Peanut Butter Filling:
Once the base is firm, carefully place about 1 tablespoon of peanut butter filling on top of the chocolate layer in each cup. Flatten it slightly but keep a little edge of space so the chocolate can seal around the filling.
6. Top With Chocolate:
Pour another tablespoon of melted chocolate over the peanut butter layer in each cup, making sure it covers the peanut butter completely. Tap the muffin tin gently on the counter to smooth the tops and remove any air bubbles.
7. Add Sea Salt (Optional):
Sprinkle a few flakes of sea salt on top of each cup if you want a nice sweet and salty balance.
8. Chill Until Set:
Place the muffin tin in the refrigerator for about 30 minutes, or in the freezer for 15 minutes, until the peanut butter cups are firm and set.
9. Serve and Store:
Once set, remove the peanut butter cups from their liners. Store them in an airtight container in the refrigerator for up to two weeks. If serving chilled, let them sit at room temperature for a few minutes to soften slightly before enjoying.
Can I Use Natural Peanut Butter in This Recipe?
Yes! Natural peanut butter works great, but because it’s thinner, you might need to add a bit more powdered sugar to help the filling hold its shape.
How Should I Store Homemade Peanut Butter Cups?
Store them in an airtight container in the fridge for up to two weeks. If they’re too firm from chilling, just let them sit at room temperature for 5–10 minutes before eating.
Can I Make These Ahead of Time?
Absolutely! Make them a few days in advance and keep them refrigerated. They also freeze well — just thaw in the fridge overnight before serving.
What If I Don’t Have Coconut Oil for the Chocolate?
No problem! You can melt the chocolate without coconut oil, but adding a teaspoon helps create a shinier, smoother shell that sets with a nice snap.