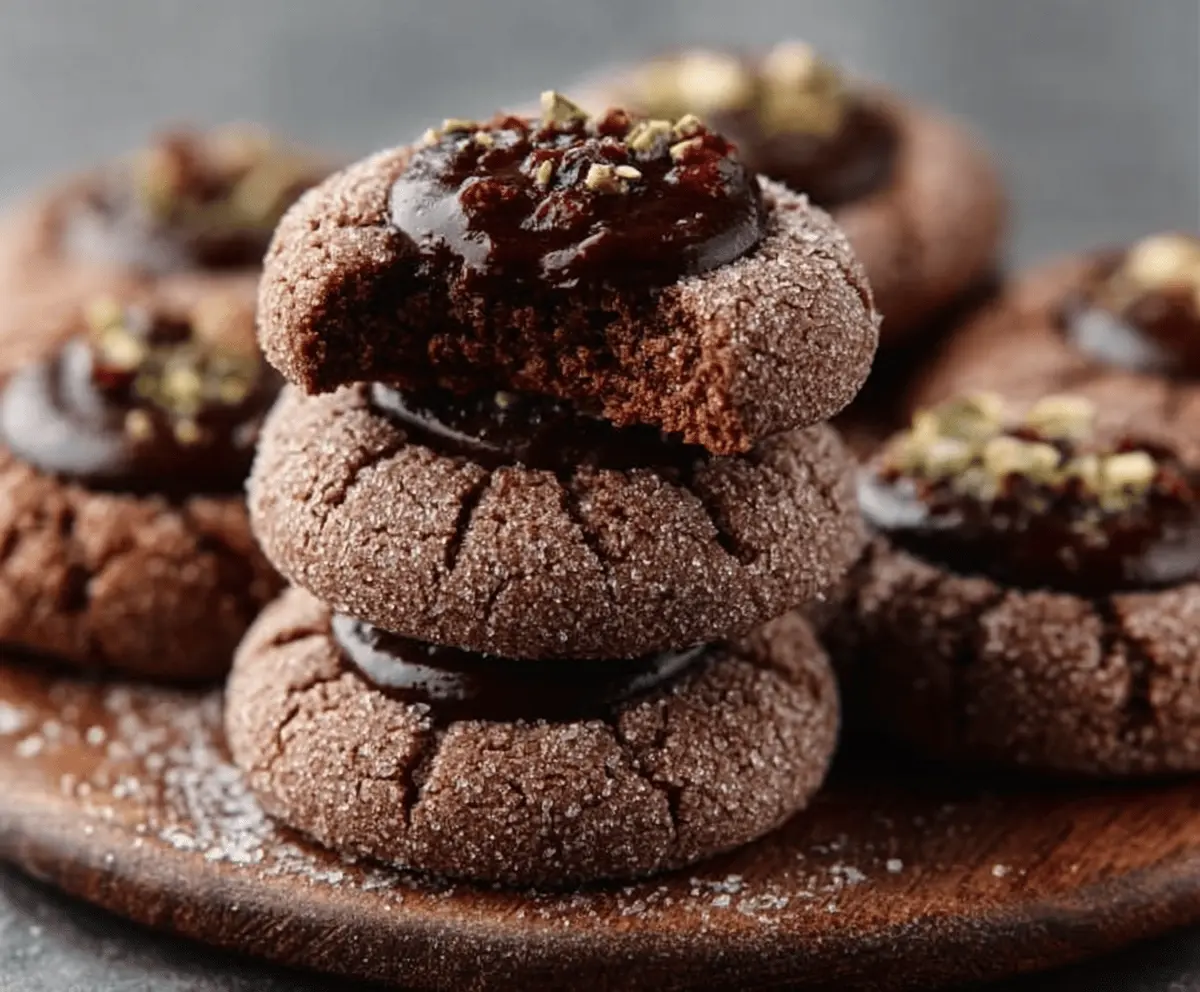
Chocolate Thumbprint Cookies are soft, buttery cookies with a little well in the center filled with rich, sweet chocolate. They have a perfect balance of crumbly cookie and gooey chocolate that melts in your mouth. The texture is just right—not too hard, not too soft—making them a real treat to enjoy any time.
I love making these cookies around the holidays or for a simple weekend snack. There’s something so satisfying about pressing your thumb into the dough and adding that chocolate center. It feels like a fun little moment of hands-on baking that makes the cookies feel extra special. Plus, they’re a great way to get kids involved in the kitchen!
These cookies are great on their own, but I also like serving them with a glass of cold milk or a cup of tea. They are the kind of cookie that’s easy to pack up for sharing with friends or taking to a party because they hold their shape well and taste amazing. I always find myself coming back for just one more bite!
Key Ingredients & Substitutions
Butter: Using unsalted butter lets you control the salt. Softened butter is easier to cream with sugar and helps create a light texture. You can swap for margarine, but butter gives the best flavor.
Cocoa Powder: Unsweetened cocoa powder gives a deep chocolate taste. Natural or Dutch-processed both work but Dutch-processed is smoother and less acidic.
Chocolate Chips: Semi-sweet or dark chocolate chips melt nicely for the filling. If you want, try white chocolate or milk chocolate for different flavors.
Heavy Cream: It makes the chocolate filling smooth and creamy. You can use half-and-half or milk, but the filling will be less rich.
How Do You Make the Perfect Thumbprint Indentation Without Cracking?
You want a gentle but clear indentation for the chocolate to sit in without breaking the dough. Here’s how:
- Use your thumb or the back of a spoon to press into the dough ball right before baking.
- Press firmly but don’t push all the way through; about half an inch deep works well.
- If the dough cracks, chill the dough for 15 minutes to make it firmer before pressing.
- Make the indentation right before baking so it doesn’t shrink or disappear.
This simple step keeps your cookies looking neat and lets the chocolate filling stay put while baking.

Equipment You’ll Need
- Mixing bowls – I use them to combine ingredients easily and keep things tidy.
- Electric mixer or whisk – makes creaming the butter and sugar quick and smooth.
- Measuring cups and spoons – helps you get the right amounts every time.
- Baking sheet – the cookies bake evenly on a flat, sturdy surface.
- Parchment paper – prevents sticking and makes cleanup easier.
- Small spoon or cookie scoop – helps portion the dough consistently.
- Chocolate melting bowl or microwave-safe bowl – for melting the chocolate filling smoothly.
Flavor Variations & Add-Ins
- Use dark or milk chocolate instead of semi-sweet for a different flavor profile.
- Add a teaspoon of espresso powder to enhance the chocolate taste.
- Mix in chopped nuts, like walnuts or pecans, for extra crunch.
- Swirl in a teaspoon of peanut butter or caramel before adding the chocolate filling for a twist.
Chocolate Thumbprint Cookies
Ingredients You’ll Need:
- 1 cup (2 sticks) unsalted butter, softened
- 1 cup granulated sugar, plus extra for rolling
- 1 large egg
- 1 teaspoon vanilla extract
- 1 ¾ cups all-purpose flour
- ¼ cup unsweetened cocoa powder
- ½ teaspoon baking powder
- ¼ teaspoon salt
- ½ cup semi-sweet or dark chocolate chips
- 2 tablespoons heavy cream
- Optional: finely chopped nuts or crushed toffee for garnish
How Much Time Will You Need?
This recipe takes about 15 minutes of active prep time plus 10-12 minutes baking. Allow around 10 minutes more for cooling and setting the chocolate filling. So overall, set aside roughly 35-40 minutes from start to enjoying your delicious cookies.
Step-by-Step Instructions:
1. Preheat and Prepare:
Start by preheating your oven to 350°F (175°C). Line a baking sheet with parchment paper to stop cookies from sticking and make cleanup easy.
2. Make the Dough:
In a large bowl, cream the softened butter with 1 cup sugar until light and fluffy. Beat in the egg and vanilla until fully combined. In another bowl, whisk together the flour, cocoa powder, baking powder, and salt. Slowly add the dry ingredients to the wet mixture, mixing gently until a soft dough forms.
3. Shape the Cookies:
Scoop tablespoon-sized bits of dough and roll each into a ball. Roll each ball in granulated sugar for a little extra crunch. Place them spaced about 2 inches apart on the parchment-lined baking sheet.
4. Create the Thumbprints:
Use your thumb or the back of a spoon to gently press an indentation into the center of each dough ball. Be gentle to avoid cracking.
5. Bake the Cookies:
Bake the cookies for 10-12 minutes in your preheated oven. You’ll want the edges set but the centers still soft.
6. Prepare the Chocolate Filling:
While the cookies bake, melt the chocolate chips with heavy cream in a microwave-safe bowl. Heat in 20-second bursts, stirring well after each, until smooth and creamy.
7. Fill and Finish:
Once baked, let the cookies cool on the baking sheet for about 5 minutes. Then gently spoon or pipe the melted chocolate into each indentation. Sprinkle some chopped nuts or crushed toffee on top if you’d like extra texture.
8. Cool and Enjoy:
Move the cookies to a wire rack and let them cool completely until the chocolate filling is set. Now your delicious chocolate thumbprint cookies are ready to share and enjoy!
Can I Use Frozen Butter for This Recipe?
It’s best to use softened butter for creaming with sugar to get the right texture. If your butter is frozen, thaw it in the fridge overnight or at room temperature until soft but still cool to the touch.
Can I Substitute the Heavy Cream in the Chocolate Filling?
You can use half-and-half or whole milk instead, but the filling will be less rich and slightly thinner. For best results, stick to heavy cream for that smooth, creamy texture.
How Should I Store These Cookies?
Store leftover cookies in an airtight container at room temperature for up to 3 days. If you want to keep them longer, refrigerate for up to a week, but bring them back to room temperature before serving for the best flavor.
Can I Make These Cookies Ahead of Time?
Yes! You can make the dough and chill it for up to 2 days before baking. Just bring the dough to room temperature for about 15 minutes before shaping and baking. You can also make the chocolate filling ahead and rewarm gently before filling the cookies.