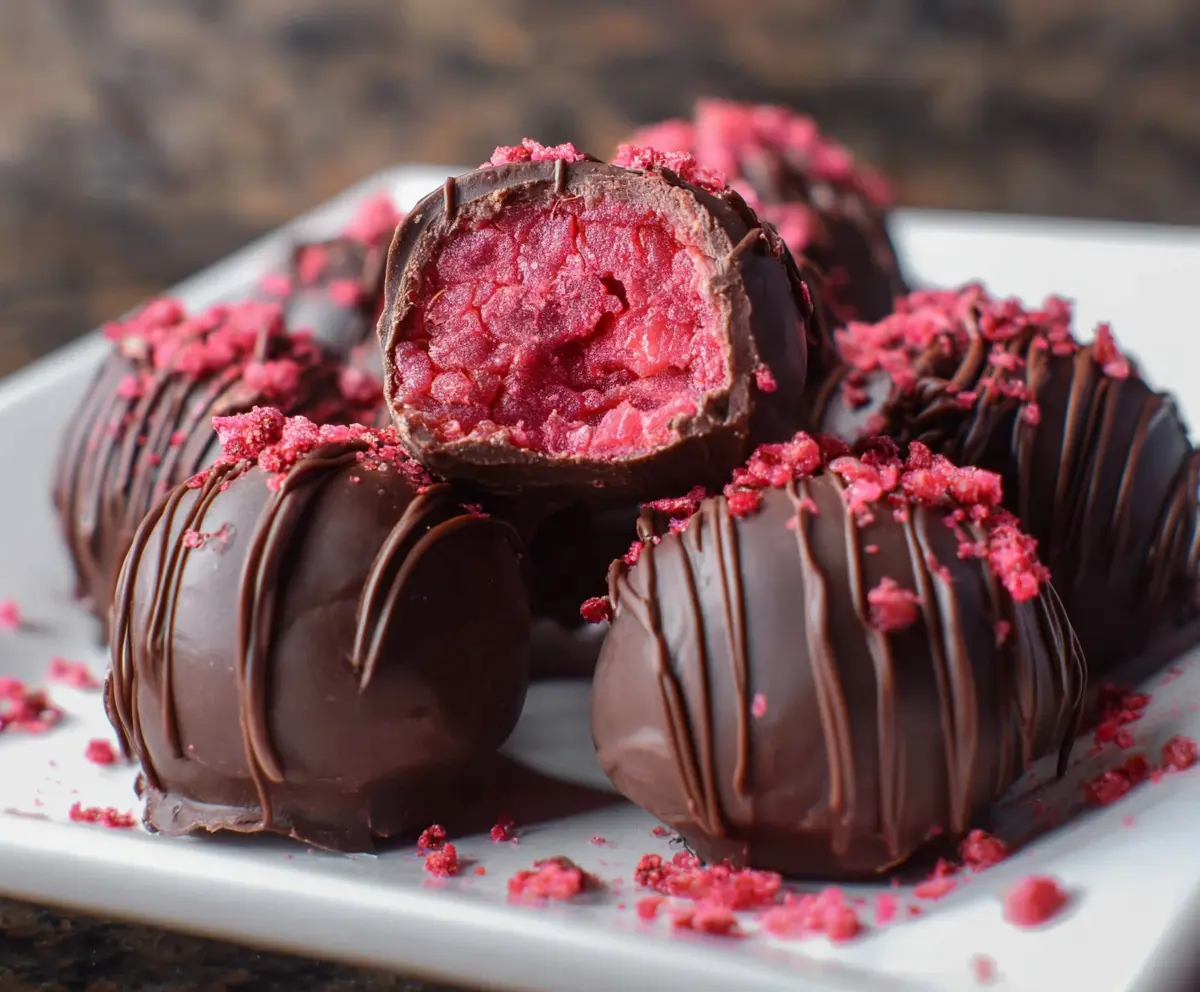
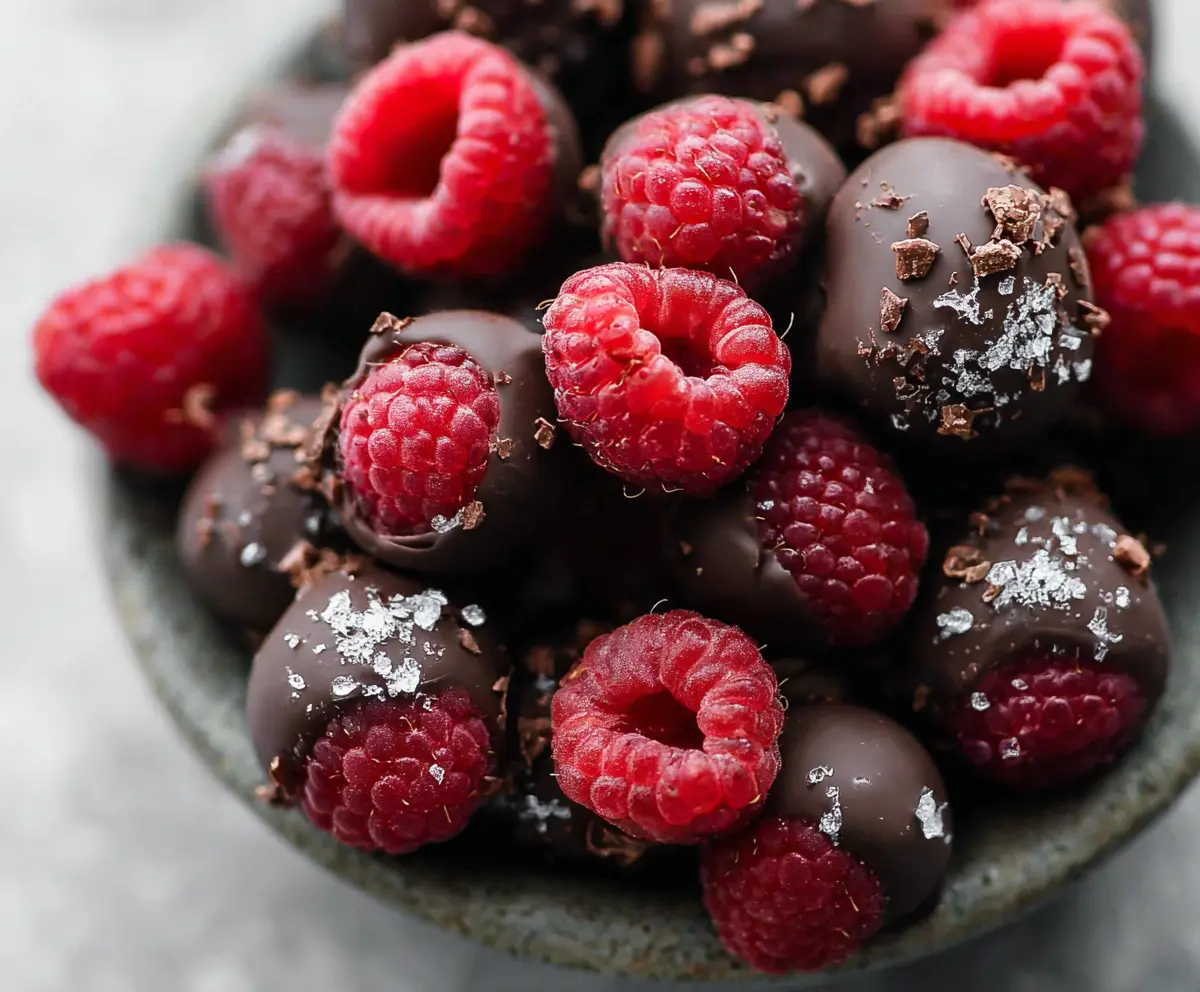
Chocolate Covered Raspberries are a simple, sweet treat that combines the juicy tartness of fresh raspberries with a smooth, rich layer of chocolate. The crisp snap of the chocolate shell gives way to the soft, bright fruit inside, making each bite a little celebration. They’re as pretty as they are delicious, perfect for a quick snack or a special dessert.
One of my favorite things about making them is how easy it is to customize the chocolate. I like to try dark chocolate for a bold contrast or milk chocolate when I’m craving something a bit creamier. It’s also fun to sprinkle a tiny pinch of sea salt or some chopped nuts on top just before the chocolate sets—adds a nice texture and flavor twist.
These chocolate-covered raspberries are great for sharing at gatherings or just enjoying quietly with a cup of tea. I often make a batch and keep them in the fridge because they’re such a nice, fresh treat when you want something sweet without going overboard. Plus, they always look like you put a lot of effort in, even when you didn’t!
Key Ingredients & Substitutions
Raspberries: Fresh raspberries are best for this recipe because they’re juicy and firm. If fresh berries aren’t available, frozen ones can work if thawed gently and dried well. Avoid overripe berries to keep the chocolate from melting or sliding off.
Chocolate: Semi-sweet or dark chocolate gives a nice balance to the tartness. I often use dark chocolate for a rich flavor, but milk chocolate or white chocolate are good alternatives depending on your sweetness preference. Chocolate chips are convenient, but baking chocolate melts more smoothly.
Powdered sugar: This is optional but adds a pretty finish. You could also sprinkle finely chopped nuts or shredded coconut for extra texture and flavor.
How Can You Get Smooth, Shiny Chocolate Coating?
Melting the chocolate properly is the key to a nice, smooth coat on your raspberries. Here’s what works well:
- Use a microwave-safe bowl and melt the chocolate in short bursts (about 20-30 seconds), stirring well each time. This helps prevent burning.
- If you prefer, melt chocolate gently over a double boiler but keep the heat low and stir often.
- Dipping raspberries when the chocolate is warm but not too hot helps it stick without melting the fruit.
- Place dipped raspberries on parchment paper to avoid sticking, then chill in the fridge to set quickly and keep the chocolate shiny and firm.
Equipment You’ll Need
- Microwave-safe bowl or double boiler – I prefer the microwave for quick and easy melting, but a double boiler gives more control.
- Fork or toothpick – makes it easy to dip the raspberries without messy fingers.
- Parchment paper or a silicone baking mat – prevents the coated berries from sticking and keeps the chocolate smooth.
- Refrigerator – helps the chocolate set firmly and quickly, so the berries stay fresh and shiny.
Flavor Variations & Add-Ins
- Use white or milk chocolate instead of dark for a sweeter, milder flavor.
- Add a sprinkle of crushed nuts, coconut flakes, or sea salt on top right after dipping for extra crunch and flavor.
- Dip some in white chocolate and drizzle dark or milk chocolate over them for a pretty swirl effect.
- Mix in a splash of vanilla extract or a pinch of cinnamon into the melted chocolate to add a little extra flavor.
Chocolate Covered Raspberries
Ingredients You’ll Need:
- 1 pint fresh raspberries (about 12-15 raspberries)
- 6 ounces semi-sweet or dark chocolate, chopped or chocolate chips
- Optional: powdered sugar for dusting
How Much Time Will You Need?
This recipe takes about 10 minutes to prepare and dip the raspberries, plus 15-20 minutes to chill the chocolate until it hardens. In about half an hour, you’ll have a fresh, tasty treat ready to enjoy!
Step-by-Step Instructions:
1. Prepare the Raspberries:
Gently rinse the raspberries under cool water, then carefully pat them dry with a paper towel. They need to be completely dry so the melted chocolate sticks well and doesn’t slide off.
2. Melt the Chocolate:
Put the chopped chocolate or chocolate chips into a microwave-safe bowl. Microwave in 30-second bursts, stirring after each, until the chocolate is smooth and fully melted. You can also melt the chocolate using a double boiler by stirring it over simmering water until smooth.
3. Dip the Raspberries:
Using a fork or toothpick, gently dip each raspberry halfway into the melted chocolate. Let the extra chocolate drip back into the bowl to avoid thick coats. Then place the dipped raspberries on a baking sheet lined with parchment paper to prevent sticking.
4. Let the Chocolate Set:
Put the baking sheet with dipped raspberries into the refrigerator for 15-20 minutes, or until the chocolate hardens and sets nicely.
5. Add a Finishing Touch (Optional):
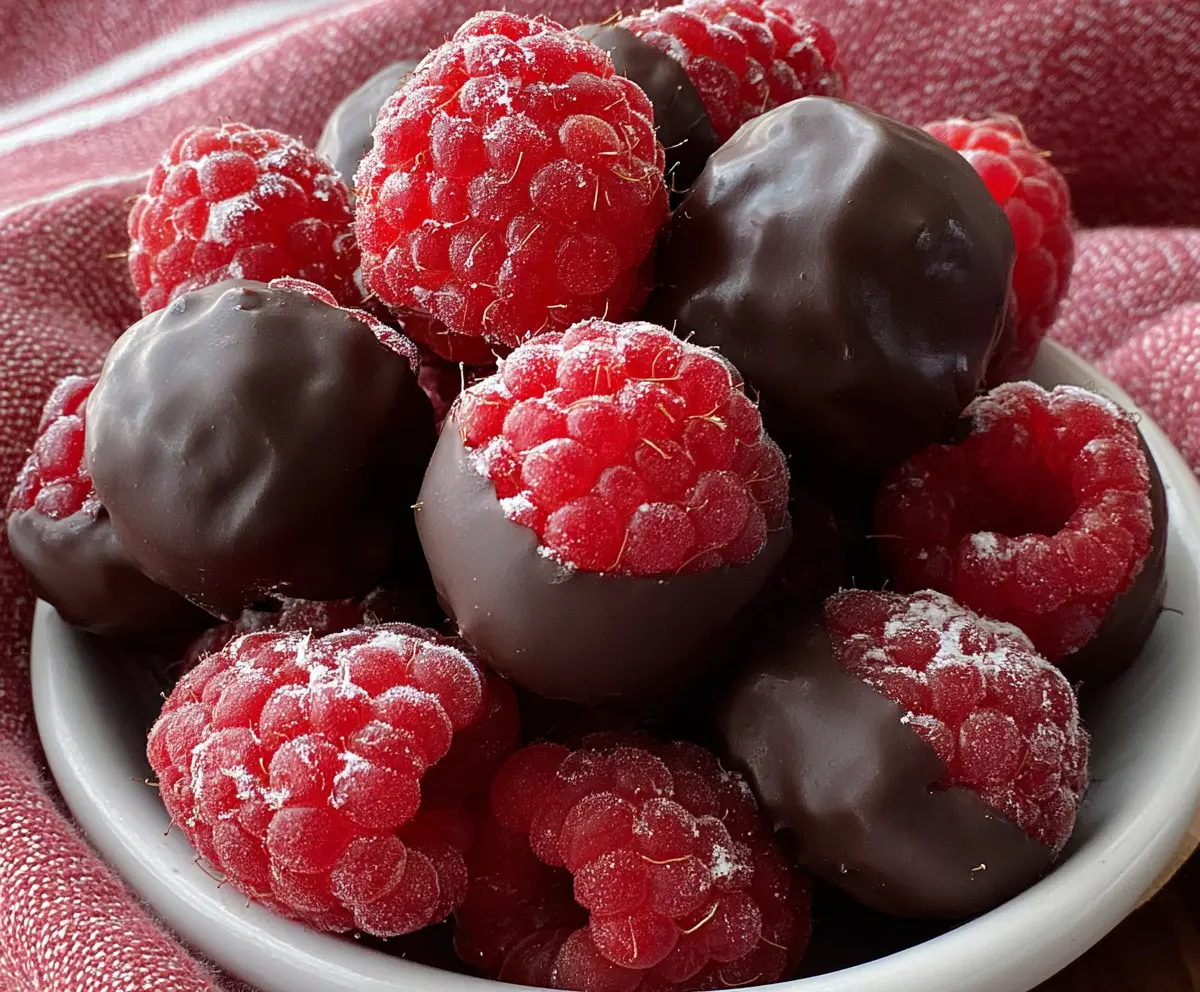
If you like, lightly dust the set raspberries with powdered sugar for a pretty, sweet finish before serving.
6. Enjoy and Store:
Serve these delicious chocolate-covered raspberries as a simple treat or dessert. Keep any leftovers refrigerated and try to eat them within 1-2 days for the best freshness.
Can I Use Frozen Raspberries for This Recipe?
Yes, but be sure to thaw them completely and pat dry very well to remove excess moisture. Too much water can cause the chocolate to not stick properly or become soggy.
What’s the Best Way to Store Chocolate Covered Raspberries?
Store them in an airtight container in the refrigerator. They stay fresh for 1-2 days and are best enjoyed chilled to keep the chocolate firm.
Can I Use Different Types of Chocolate?
Absolutely! Dark, semi-sweet, milk, or white chocolate all work well. You can even mix and match by dipping some in one type and drizzling another for variety.
Can I Make These Ahead of Time?
It’s best to make them the same day you plan to serve so the raspberries stay fresh and firm. If needed, you can prepare them a few hours ahead and keep refrigerated until serving.