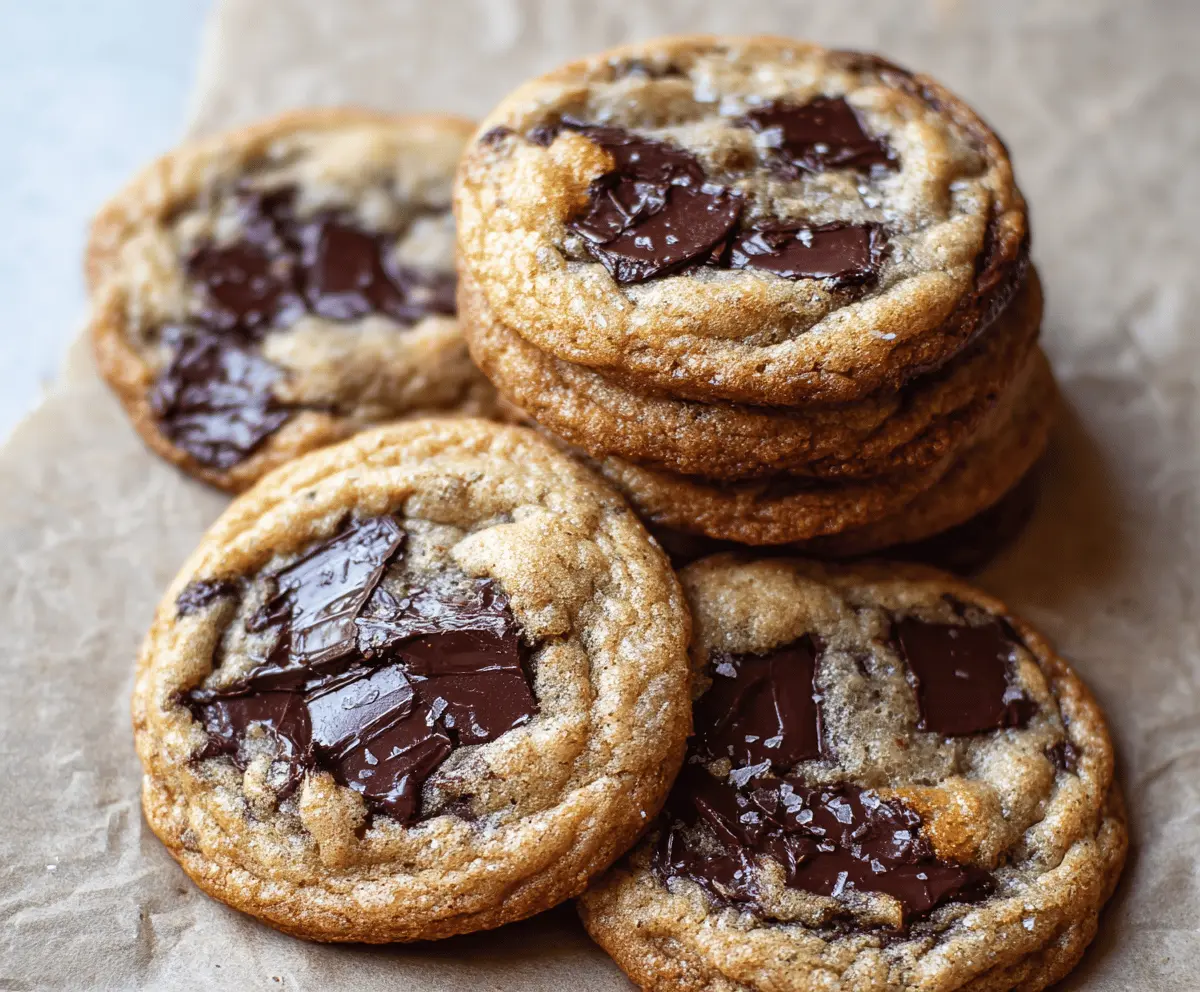
Brown Butter Chocolate Chip Cookies are a classic treat with a rich, nutty twist that makes them extra special. The butter is cooked until golden and fragrant, giving the cookies a deep, caramel-like flavor that pairs beautifully with gooey chocolate chips. These cookies are soft in the middle with just the right amount of crisp around the edges.
I love making these cookies because the simple step of browning the butter turns an ordinary batch into something memorable. The smell that fills the kitchen while the butter cooks always makes me smile, and it’s hard to stop myself from sneaking a warm cookie even before they’ve fully cooled.
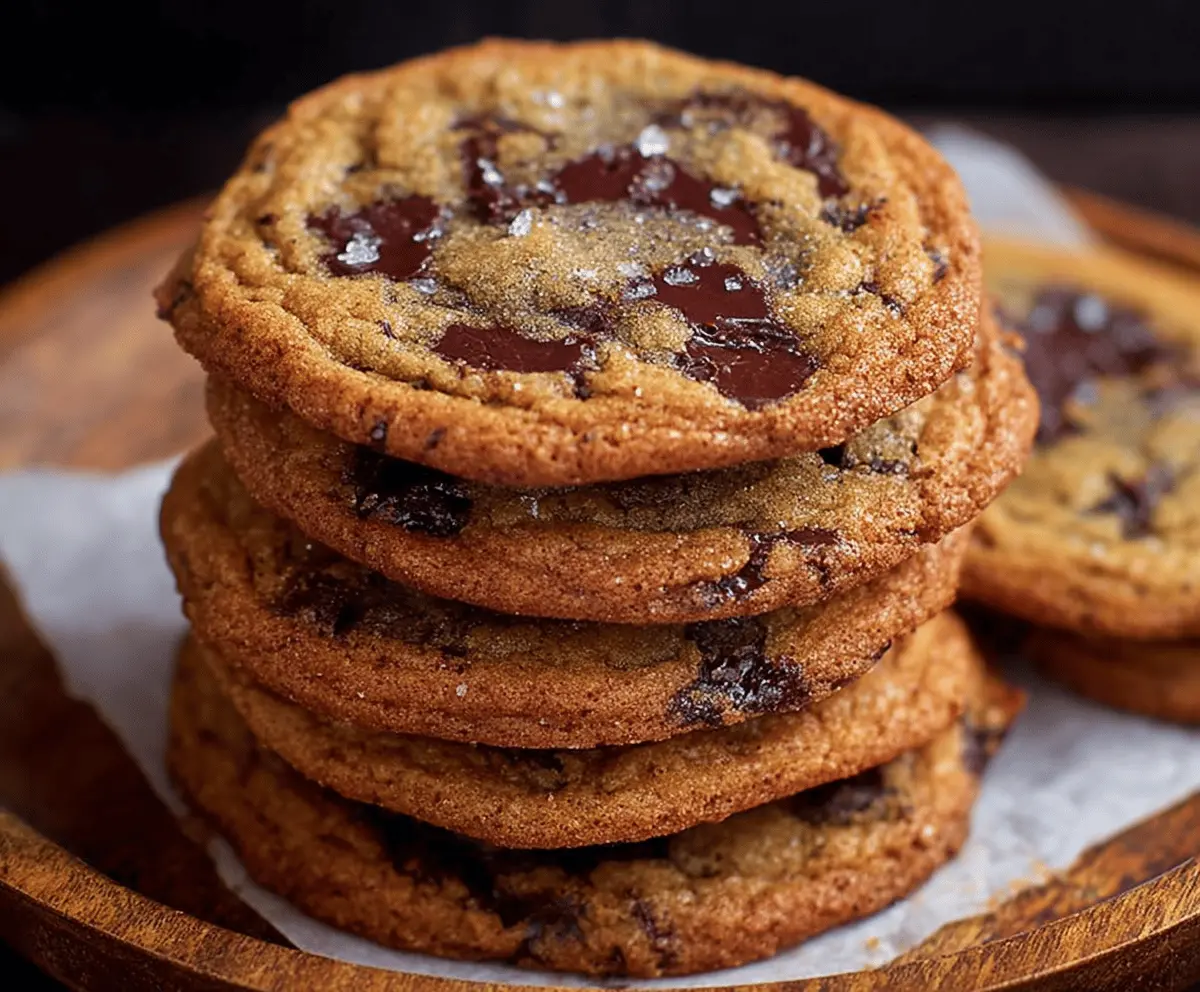
My favorite way to enjoy these cookies is fresh out of the oven with a glass of cold milk or a cup of tea. They’re perfect for sharing with friends or keeping all to yourself on a cozy afternoon. If you want a little extra texture, try adding a pinch of flaky sea salt on top right before baking—it really makes the chocolate pop!
Key Ingredients & Substitutions
Unsalted Butter: This is the star here since browning it adds a rich, nutty flavor to the cookies. If you only have salted butter, reduce added salt in the recipe to avoid overly salty cookies.
Brown Sugar: It keeps cookies soft and adds moisture along with a hint of molasses flavor. You can swap light for dark brown sugar if you want a deeper taste.
Chocolate Chunks/Chips: Dark chocolate works beautifully, giving a nice bittersweet contrast. Semi-sweet or milk chocolate are fine too, just adjust sweetness to your liking.
Flaky Sea Salt (Optional): Sprinkling this on top before baking enhances the chocolate’s flavor and brings a little crunchy texture. You can skip if you prefer sweeter cookies.
How Do You Get Perfect Brown Butter Without Burning It?
Browning butter can be tricky but is worth mastering for the great flavor it adds.
- Use a light-colored pan so you can watch the color change easily.
- Keep the heat at medium to medium-low to avoid burning.
- Stir constantly to cook evenly and prevent burning spots.
- Watch for the butter to foam, then turn golden with brown specks and smell nutty—this means it’s ready.
- Remove from the heat immediately to stop cooking, and let it cool slightly before mixing with sugars.
Taking your time here makes the cookie base extra flavorful without any bitterness!
Equipment You’ll Need
- Medium saucepan – I love it because it’s perfect for browning the butter evenly and helps control the heat.
- Large mixing bowl – gives plenty of space to combine ingredients smoothly.
- Whisk or spatula – useful for mixing the browned butter with sugars and for folding in chocolate.
- Measuring cups and spoons – ensure accurate ingredient amounts for the best results.
- Parchment paper and baking sheet – for baking the cookies without sticking and making cleanup easier.
- Cookie scoop (optional) – helps make uniform-sized cookies for even baking.
Flavor Variations & Add-Ins
- Use milk or white chocolate chips instead of dark for a sweeter cookie.
- add chopped nuts like walnuts or pecans for crunch and extra flavor.
- Mix in a teaspoon of espresso powder or cinnamon to deepen the flavor profile.
- Top each cookie with a sprinkle of sea salt before baking for a sweet-salty contrast.
Brown Butter Chocolate Chip Cookies
Ingredients You’ll Need:
- 1 cup (2 sticks) unsalted butter
- 1 cup packed light brown sugar
- 1/2 cup granulated sugar
- 2 large eggs
- 2 teaspoons vanilla extract
- 2 1/4 cups all-purpose flour
- 1 teaspoon baking soda
- 1/2 teaspoon salt
- 1 1/2 cups dark chocolate chunks or chips
- Flaky sea salt, for sprinkling (optional)
How Much Time Will You Need?
This recipe takes about 15 minutes for preparation and browning the butter, plus around 30 to 60 minutes chilling time for the dough. Baking takes about 10 to 12 minutes per batch. Overall, expect roughly 1 to 1.5 hours total, including chilling and baking.
Step-by-Step Instructions:
1. Brown the Butter:
Place the butter in a medium saucepan over medium heat. Stir frequently as it melts, and continue cooking until it turns golden brown and smells nutty, about 5 to 7 minutes. Be careful not to burn it! Remove from heat and let it cool slightly.
2. Mix Sugars and Eggs:
In a large bowl, combine the browned butter with the brown and granulated sugars. Stir until smooth. Add the eggs one at a time, beating well after each, then stir in the vanilla extract.
3. Combine Dry Ingredients:
In a separate bowl, whisk together the flour, baking soda, and salt. Slowly add these dry ingredients into the wet ingredients, mixing gently until just combined. Avoid overmixing to keep cookies tender.
4. Add Chocolate and Chill Dough:
Fold in the dark chocolate chunks or chips evenly throughout the dough. Cover the dough and place it in the refrigerator for 30 minutes to 1 hour to improve texture and flavors.
5. Bake the Cookies:
Preheat your oven to 350°F (175°C). Line baking sheets with parchment paper. Using a spoon or cookie scoop, place about 1.5 tablespoons of dough per cookie onto the sheets, leaving about 2 inches between each. Optionally, sprinkle a pinch of flaky sea salt on top of each dough ball.
Bake for 10 to 12 minutes until the edges are golden and the centers look slightly soft. Remove from oven and let cool on the baking sheet for 5 minutes before transferring to a wire rack.
6. Enjoy or Store:
Enjoy your warm, gooey cookies! Store any leftovers in an airtight container at room temperature for up to one week.
Can I Use Frozen Butter for Browning?
It’s best to use unsalted butter at room temperature or cold straight from the fridge and melt it slowly. Avoid using melted or softened butter, as browning works best when you start with solid butter.
How Long Can I Store the Cookie Dough?
You can refrigerate the dough for up to 3 days or freeze it for up to 3 months. Just thaw frozen dough overnight in the fridge before baking.
Can I Substitute Chocolate Chips with Something Else?
Absolutely! You can use chocolate chunks, white chocolate, milk chocolate, or even mix in nuts like walnuts or pecans for extra texture.
Will Chilling the Dough Affect the Cookie Texture?
Yes, chilling helps the dough firm up, which prevents spreading during baking and enhances the flavor, resulting in thicker, chewier cookies.